1/48 "lozenge" decals
For the first time accurately depicting in decal form the long misunderstood dye-printed linen patterns devised by an art student for the German Fliegertruppe as a type of "dazzle"camouflage.
The initial five colour pattern was ordered into production in the Autumn of 1917 and was replaced in the Spring of 1918 by a four colour version with many variations and combinations of covering practices being recorded.
We have tried to give as much variety as possible for you to decide how weathered or faded your subject may have looked, based on your references.
Our opinion is that the colours did not themselves fade during the aircraft's brief service life - but that the varnishes and dope covering did - allowing you to experiment with mist-coats, washes and filtering to bring your build to realistic life!
Alternatively, an aircraft rolled out of the factory or Jasta hangar freshly delivered in all its garish, gaudy beauty still elicits the same open-mouthed shock!
We offer "Factory Fresh" or "Faded" options faithfully reproduced after many years studying real samples of WW1 printed linen.....
"Full pattern width" bolts for fuselages and "joined" sheets as they appeared on flying surfaces with subtle "linen weave" effect...saving hours of tedious work!
Use kit decals or parts as templates.
"45 degree" wing decals for Siemens Schuckert DIII/IV, DFW CV and other aircraft that carried this alternative application...
"Night Lozenge" - the 5 colour pattern initially used on day bombing aircraft, swiftly overpainted or sprayed with dark blue tinted varnish when operations switched to night. Previously mistaken for a whole palette of different colours....
For slicing as rib tapes choose "White Decal Paper" which gives a solid colour
Please note that some colour variation can occur as this is a different type of paper..

ATT48001 4 colour “lozenge” full pattern width for upper and lower surfaces (factory fresh)
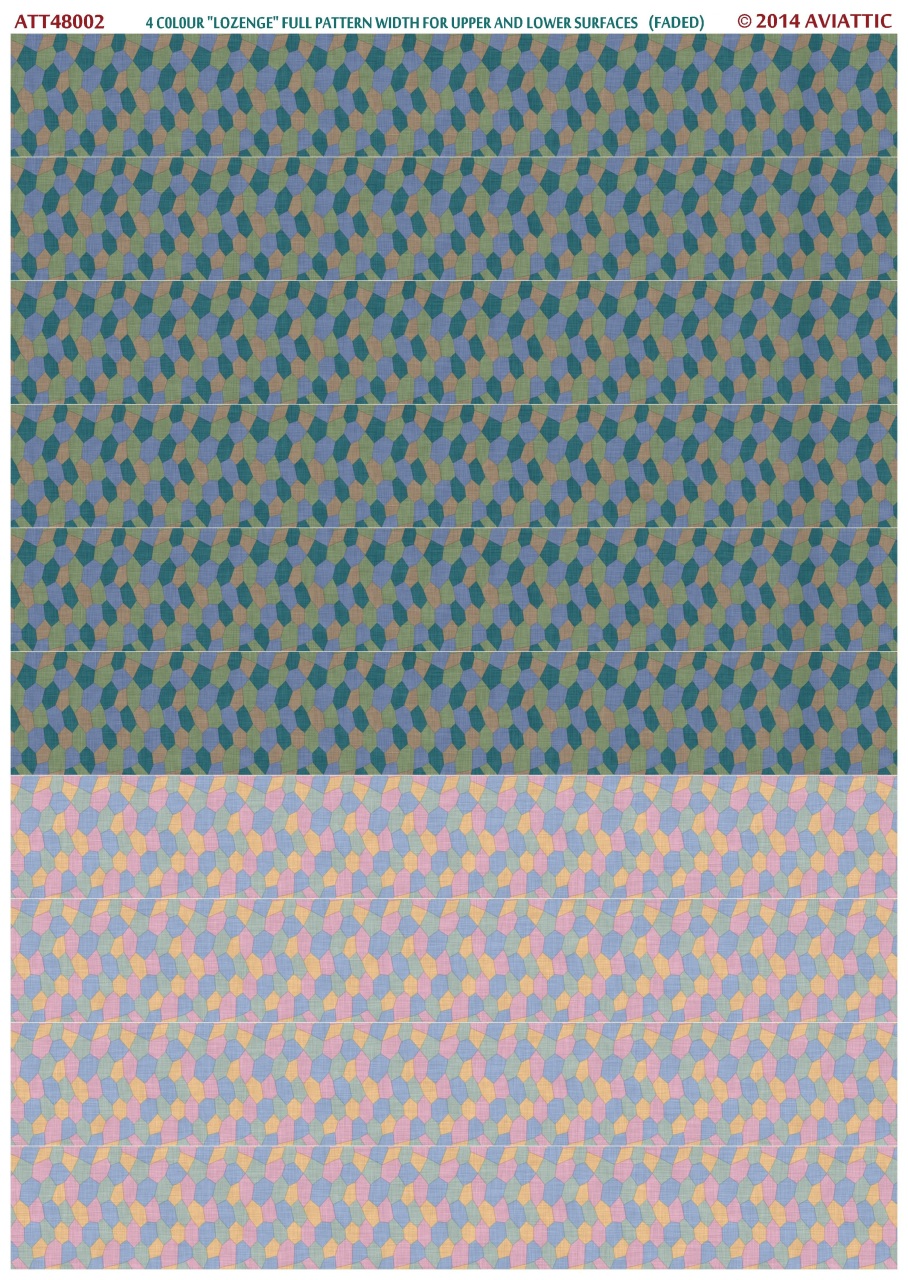
ATT48002 4 colour “lozenge” full pattern width for upper and lower surfaces (faded)
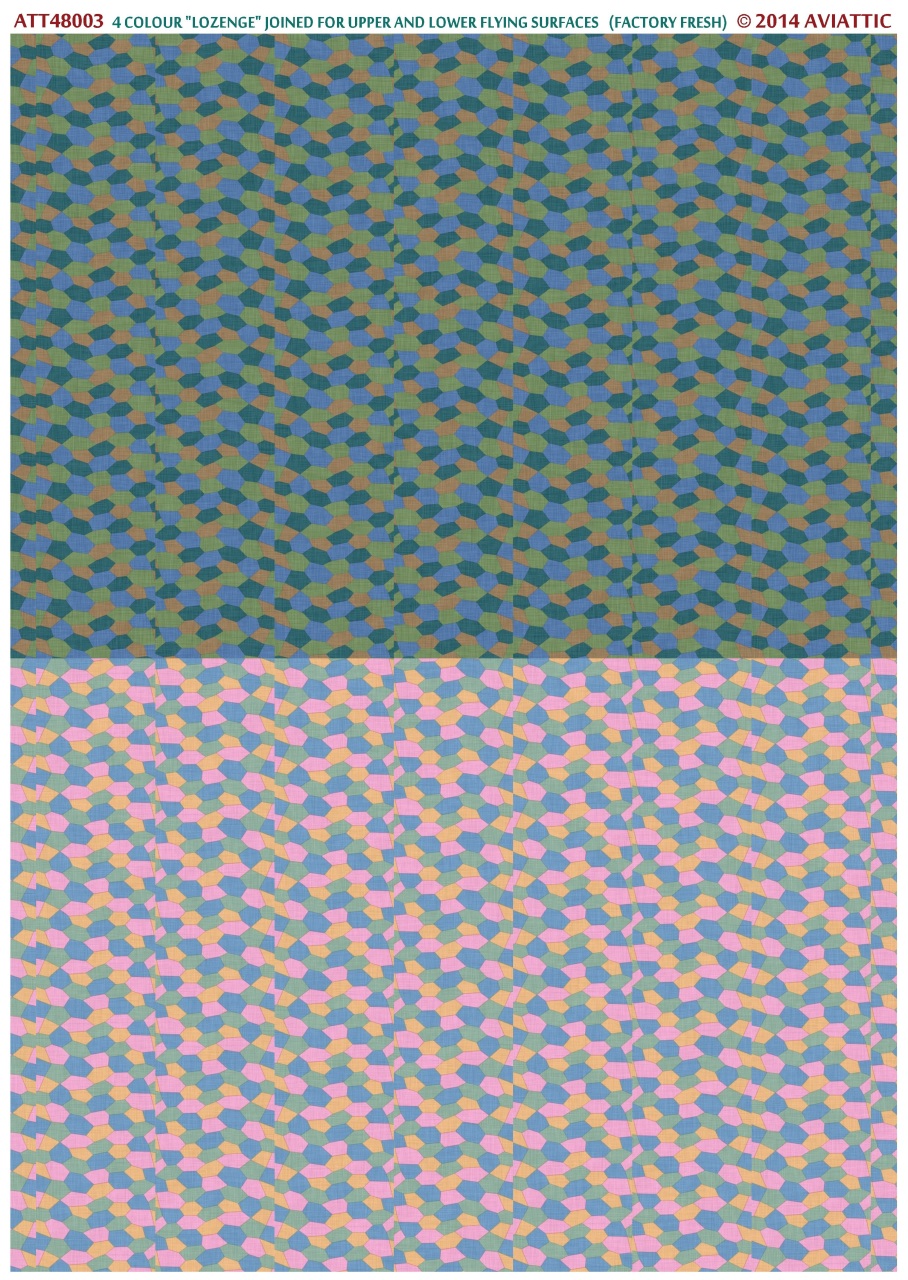
ATT48003 4 colour “lozenge” joined for upper and lower flying surfaces (factory fresh)

ATT48004 4 colour “lozenge” joined for upper and lower flying surfaces (faded)
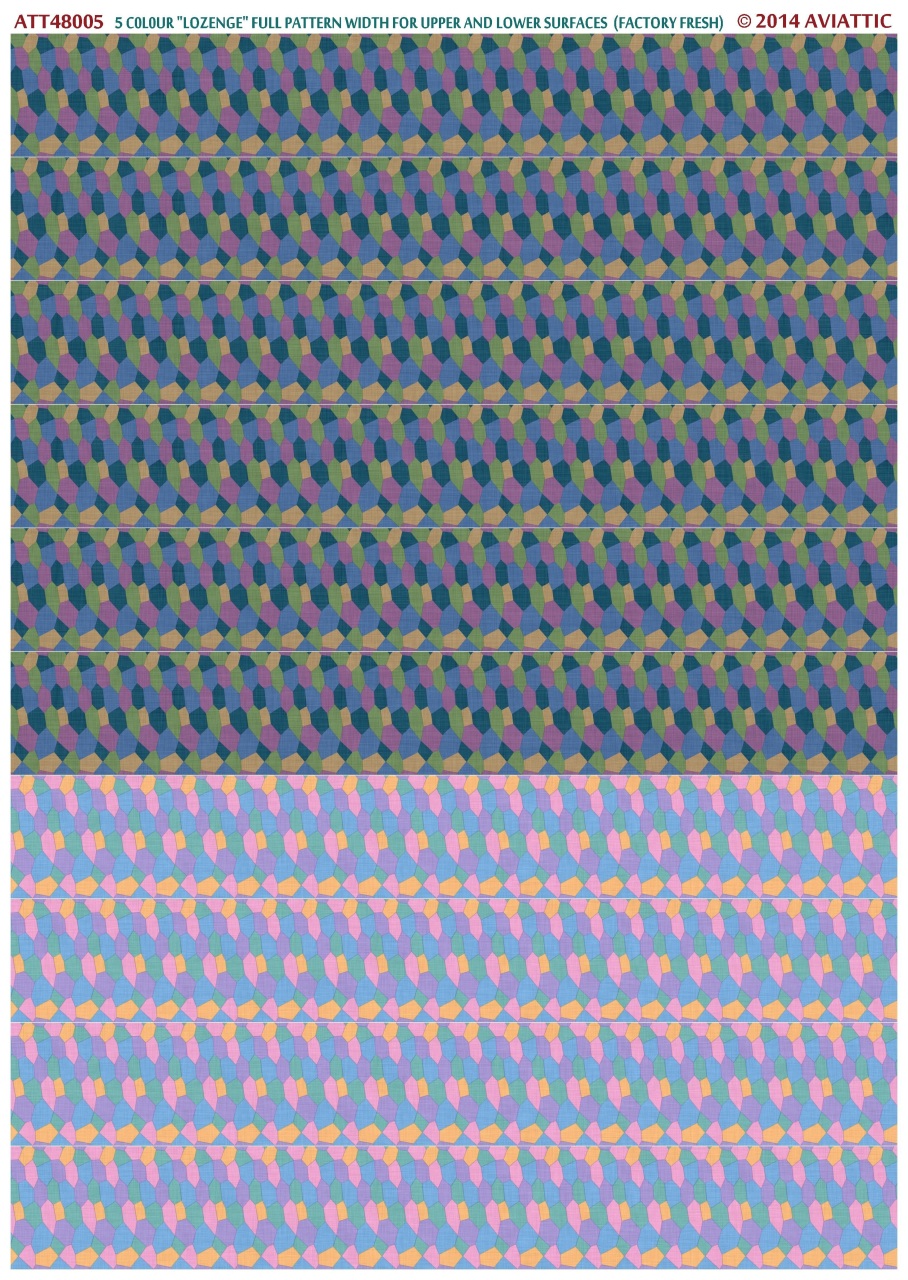
ATT48005 5 colour “lozenge” full pattern width for upper and lower surfaces (factory fresh)
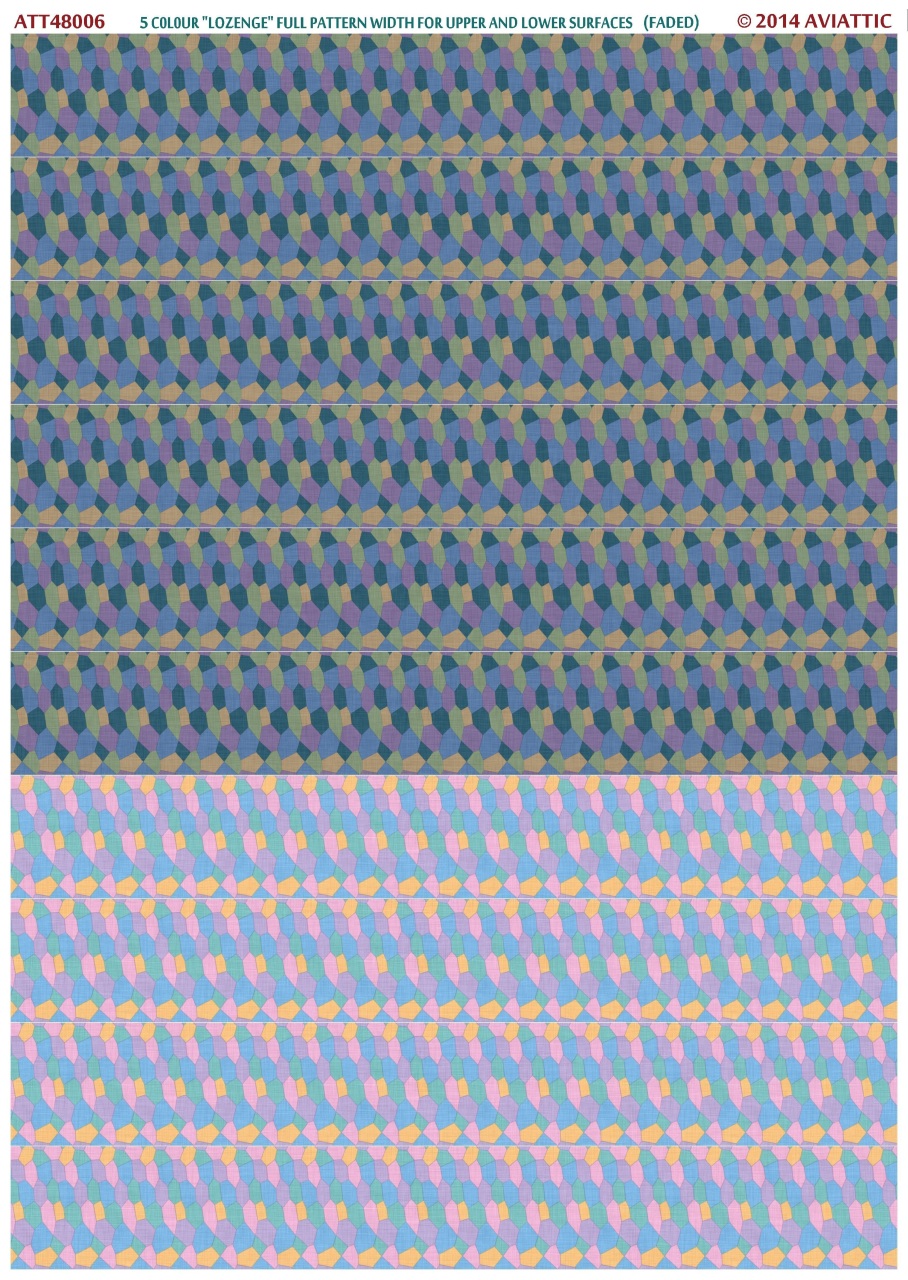
ATT48006 5 colour “lozenge” full pattern width for upper and lower surfaces (faded)
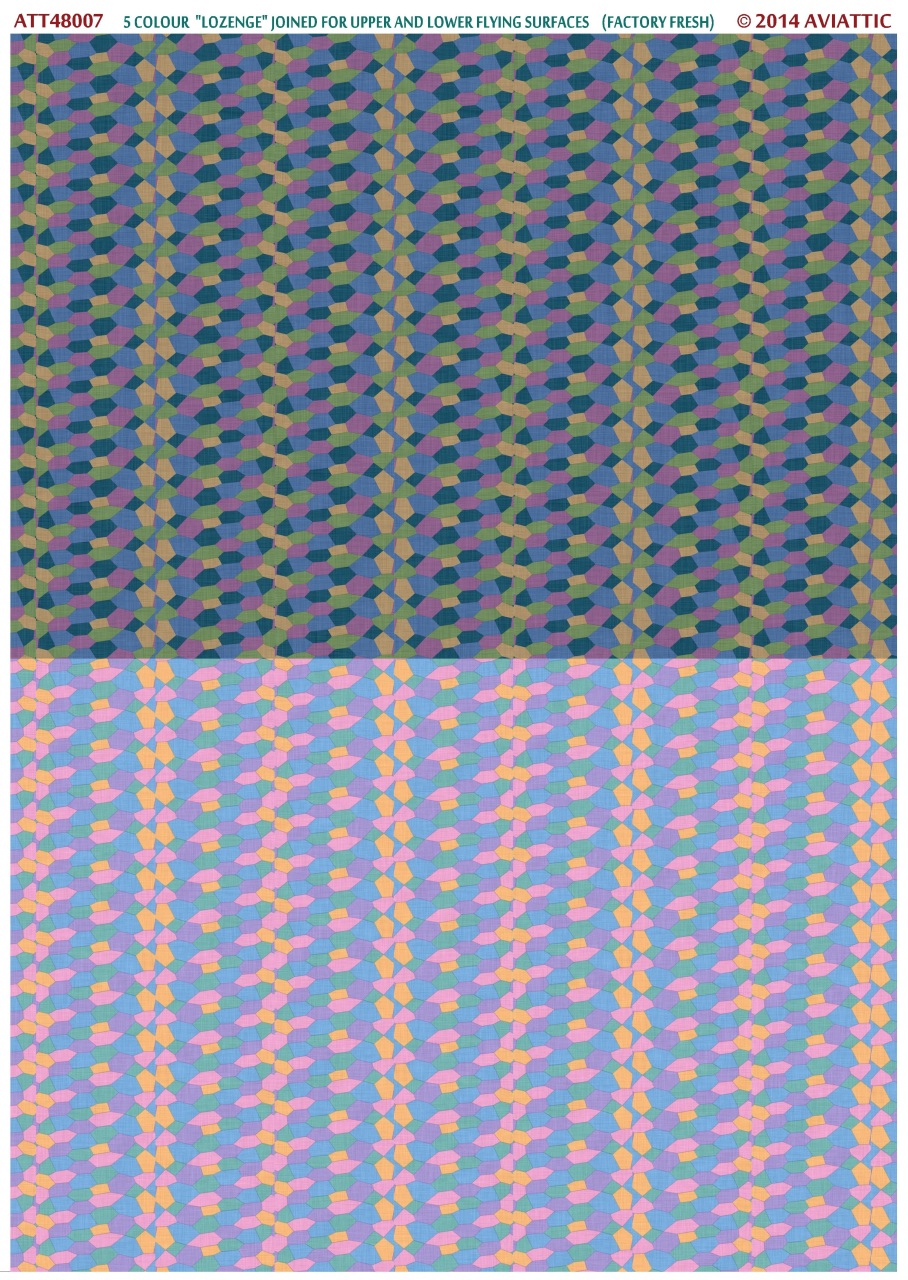
ATT48007 5 colour “lozenge” joined for upper and lower flying surfaces (factory fresh)
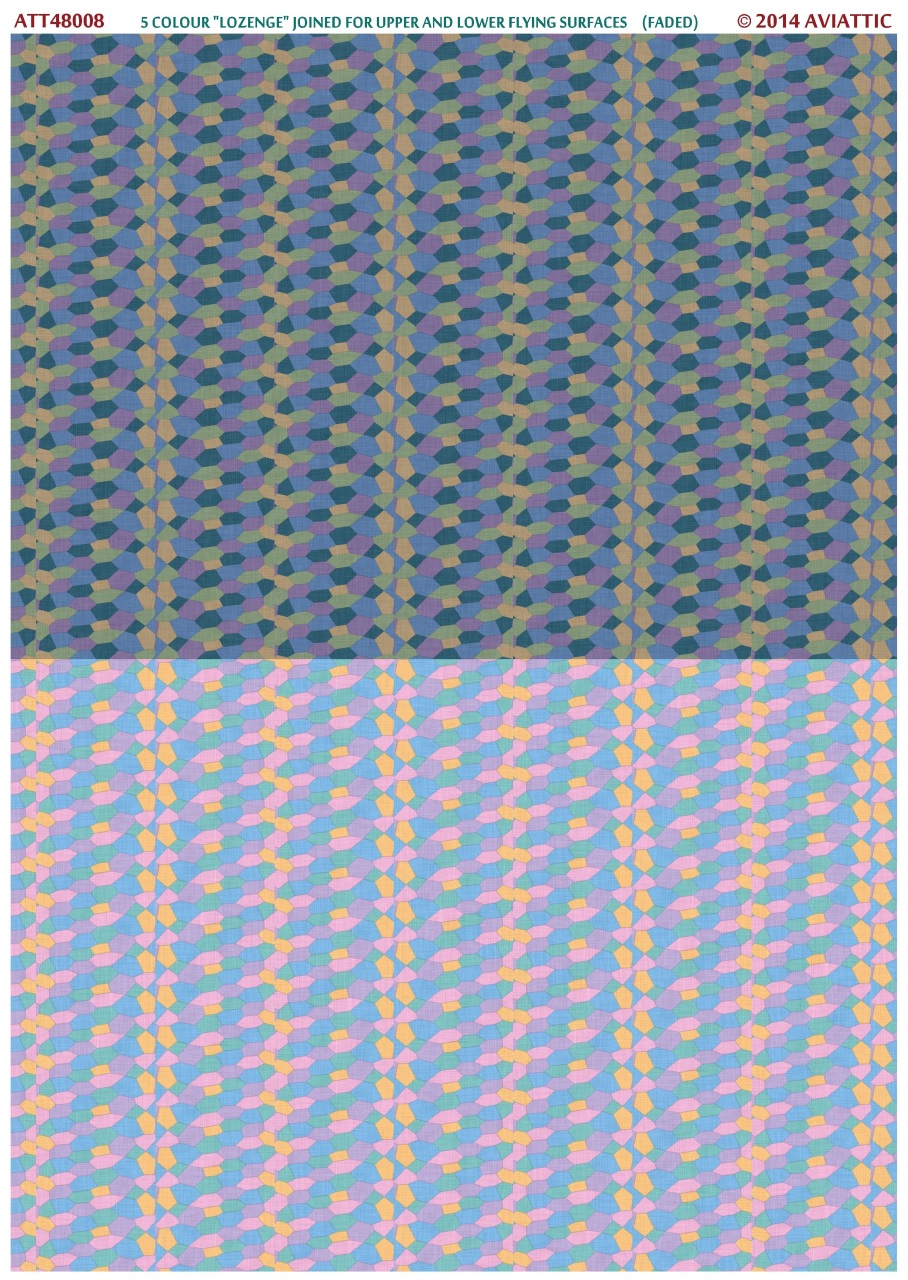
ATT48008 5 colour “lozenge” joined for upper and lower flying surfaces (faded)
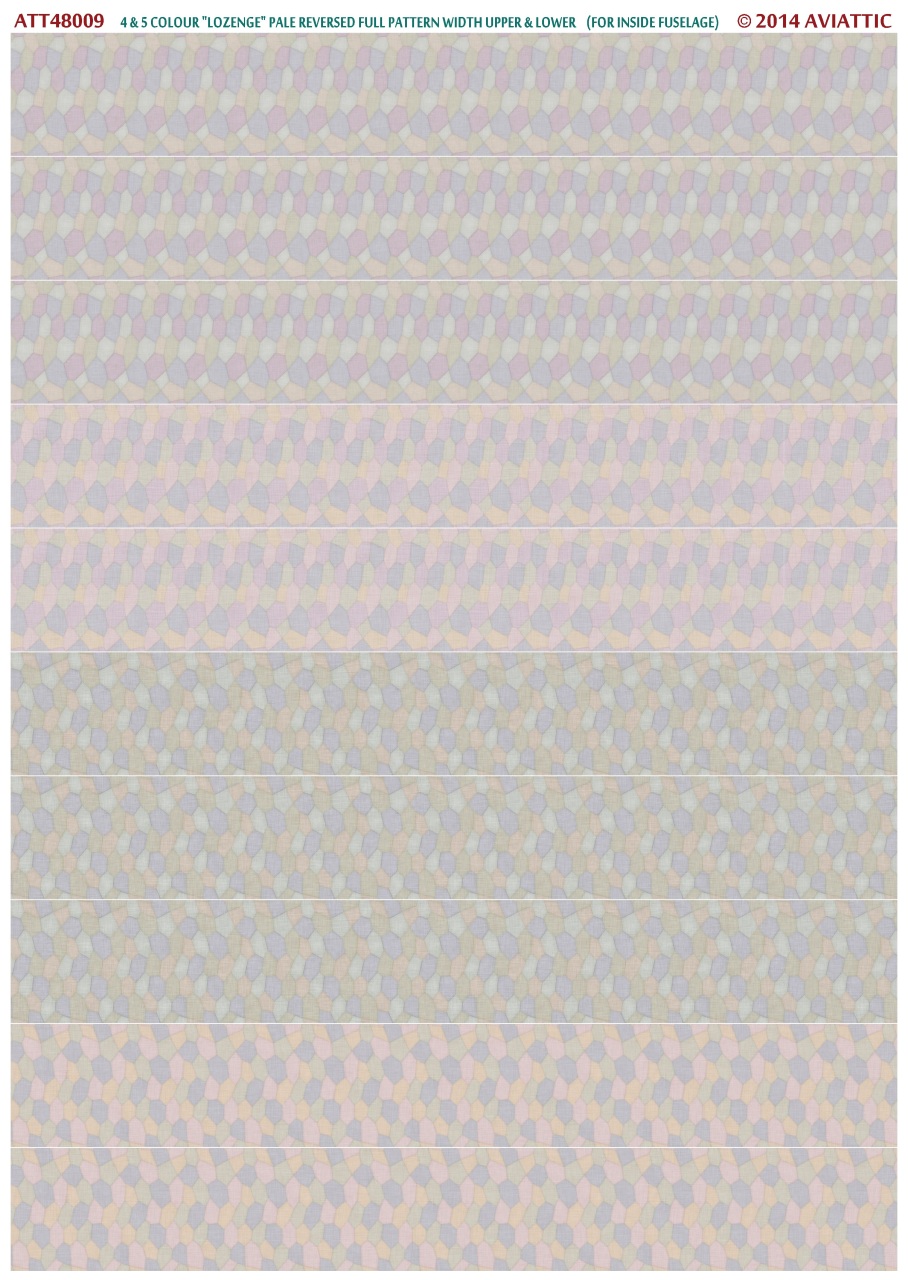
ATT48009 4 & 5 colour “lozenge” pale reversed full pattern width upper & lower (for inside fuselage)

ATT48010 (white decal paper for rib tapes) 4 colour “lozenge” full pattern width for upper and lower surfaces (factory fresh)
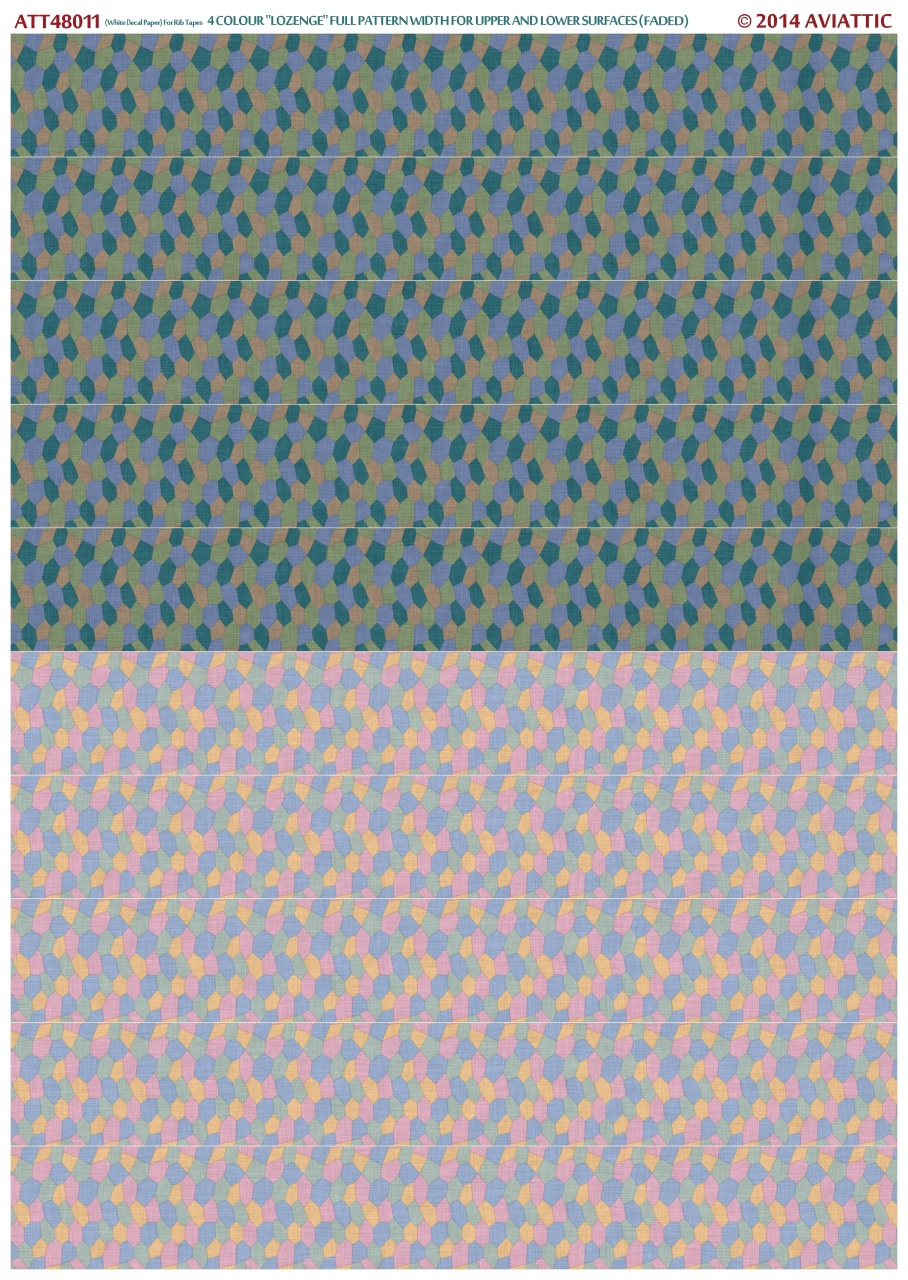
ATT48011 (white decal paper for rib tapes) 4 colour “lozenge full pattern width for upper and lower surfaces (faded)
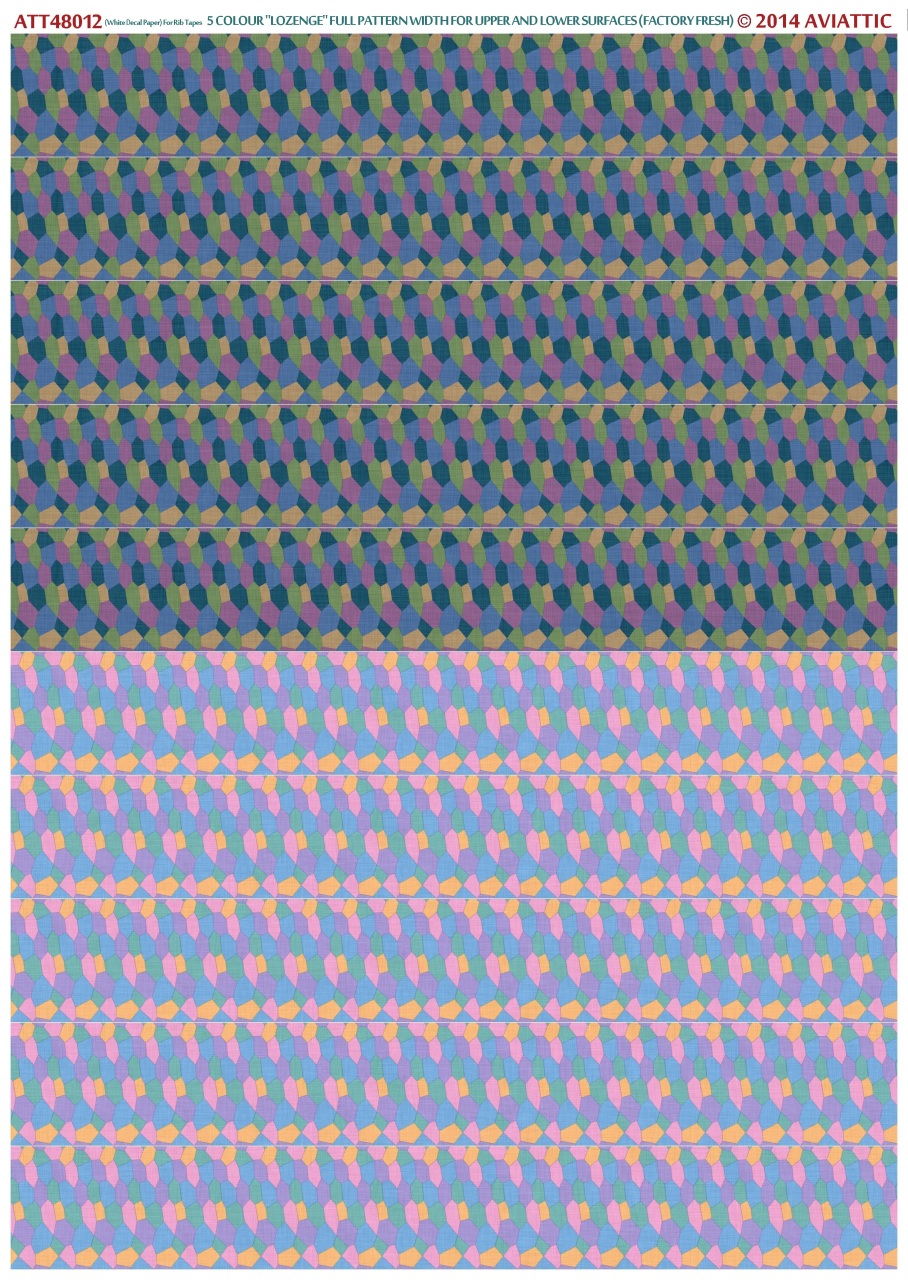
ATT48012 (white decal paper for rib tapes) 5 colour “lozenge” full pattern width for upper and lower surfaces (factory fresh)
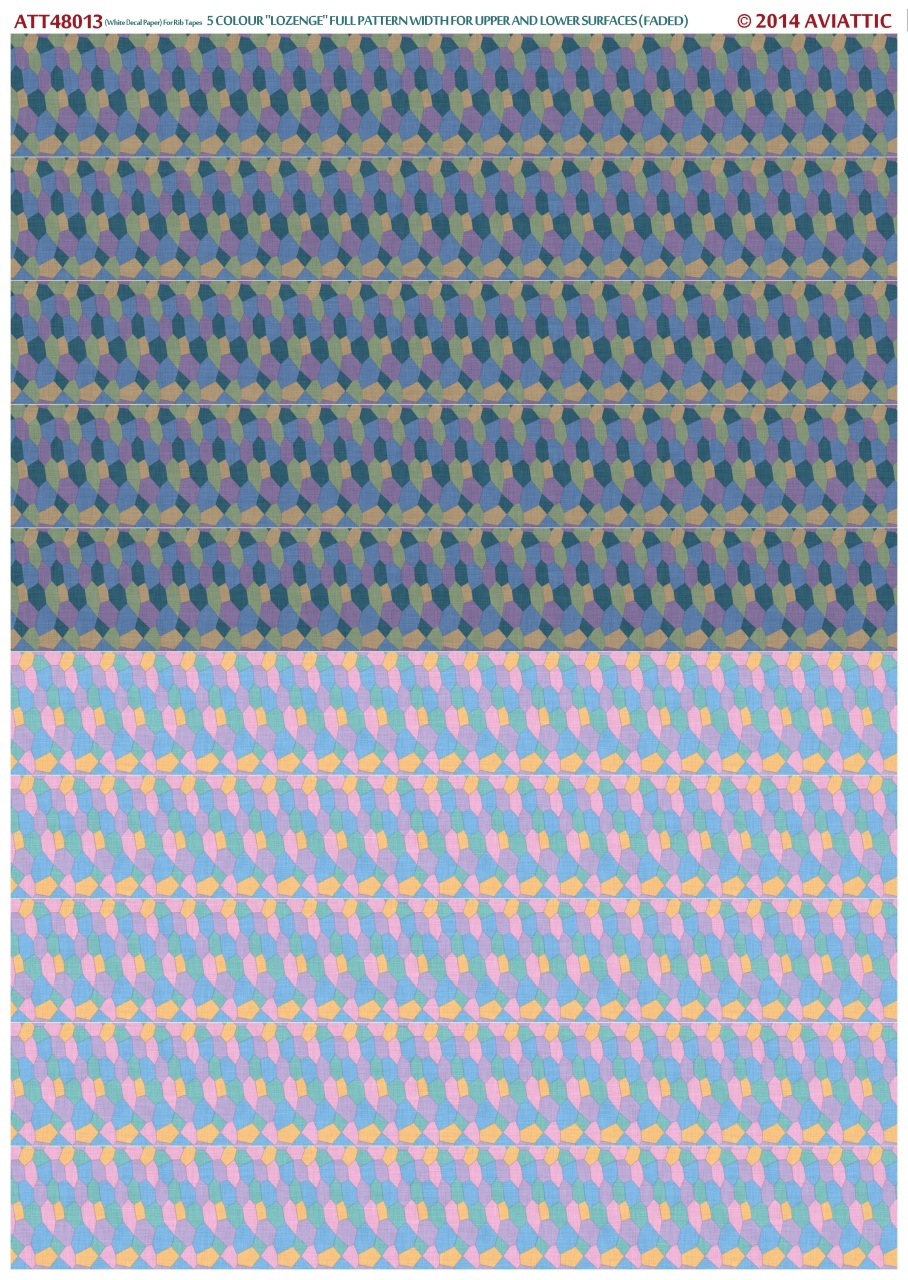
ATT48013 (white decal paper for rib tapes) 5 colour “Lozenge” full pattern width for upper and lower surfaces (faded)
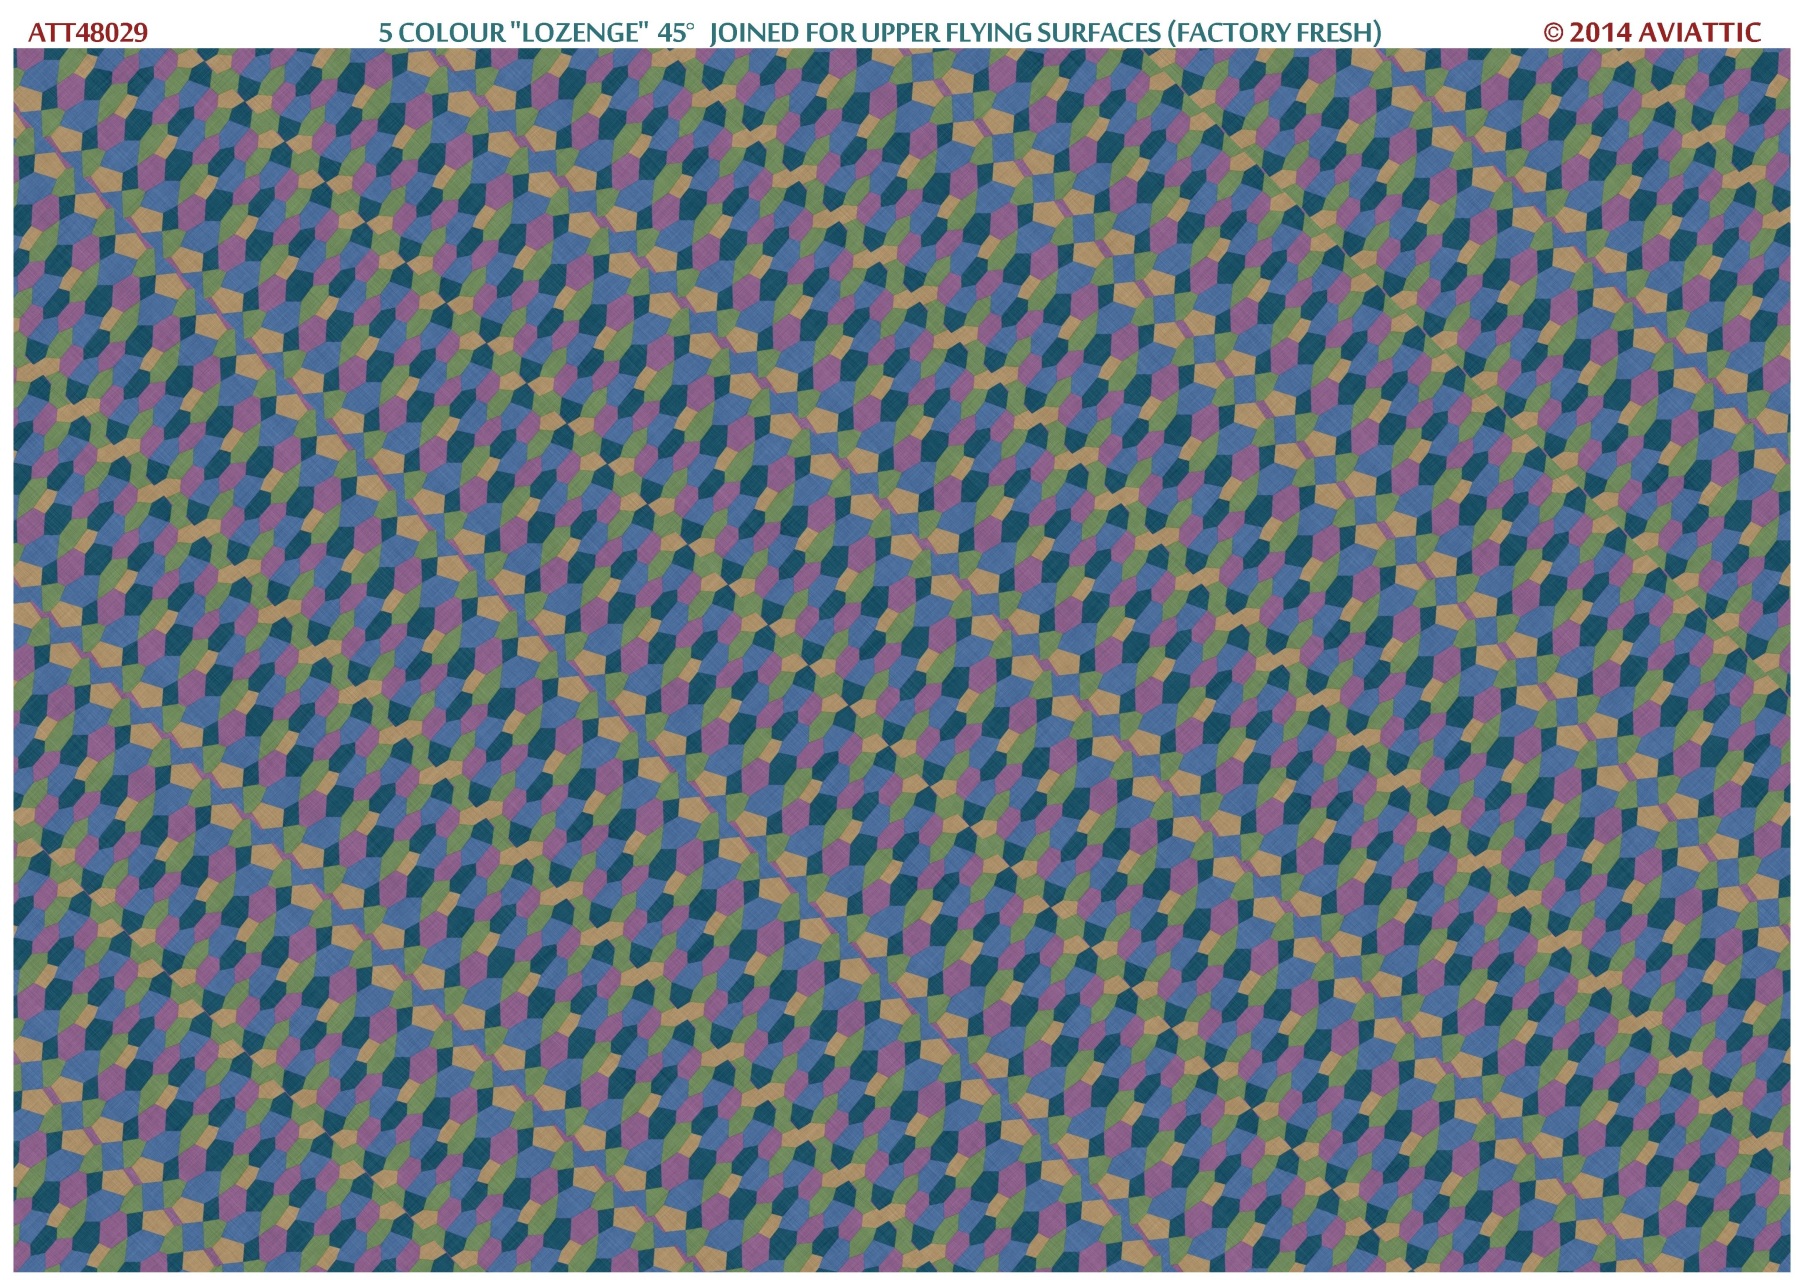
ATT48029 5 colour “lozenge” 45 degrees joined for upper flying surfaces (factory fresh)
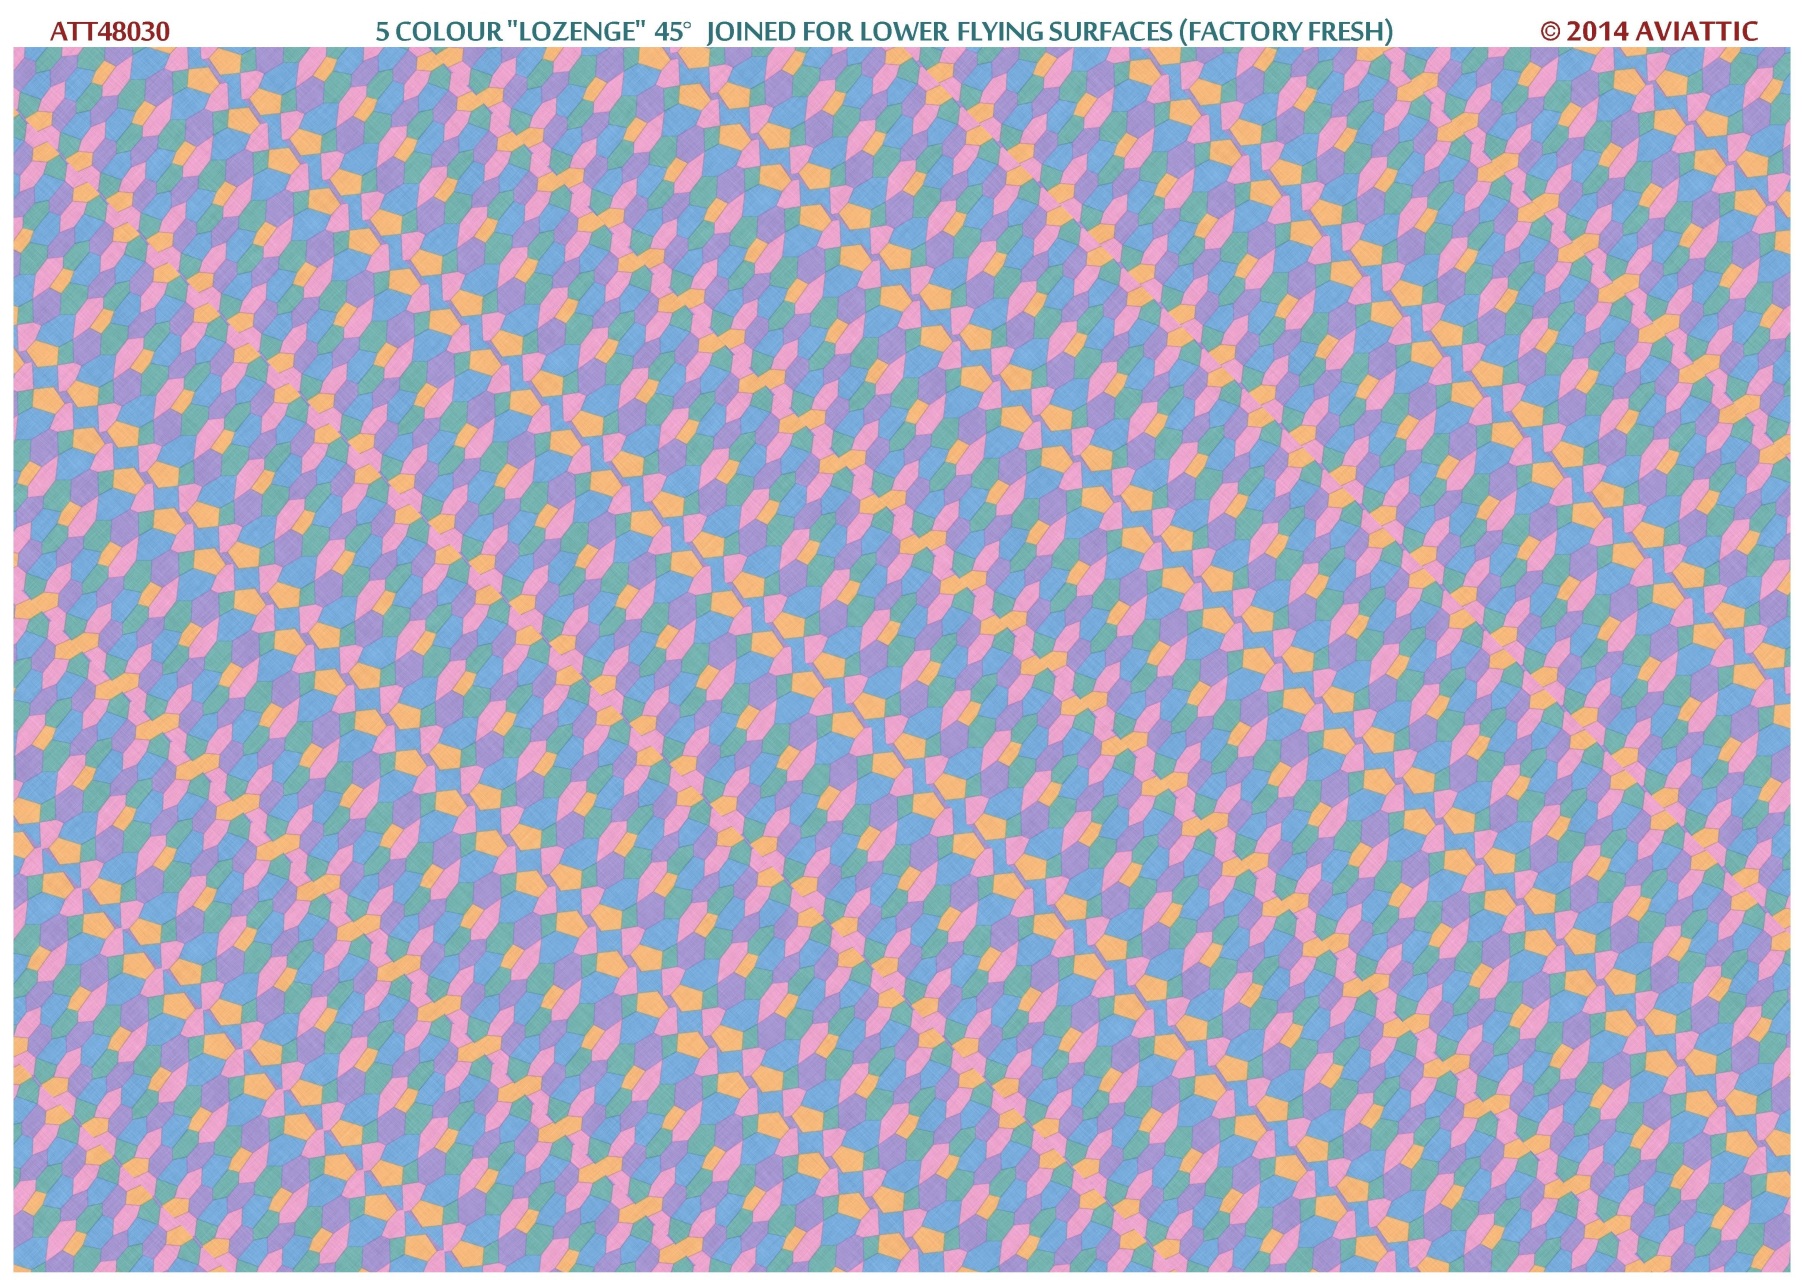
ATT48030 5 colour ”lozenge” 45 degrees joined for lower flying surfaces (factory fresh)
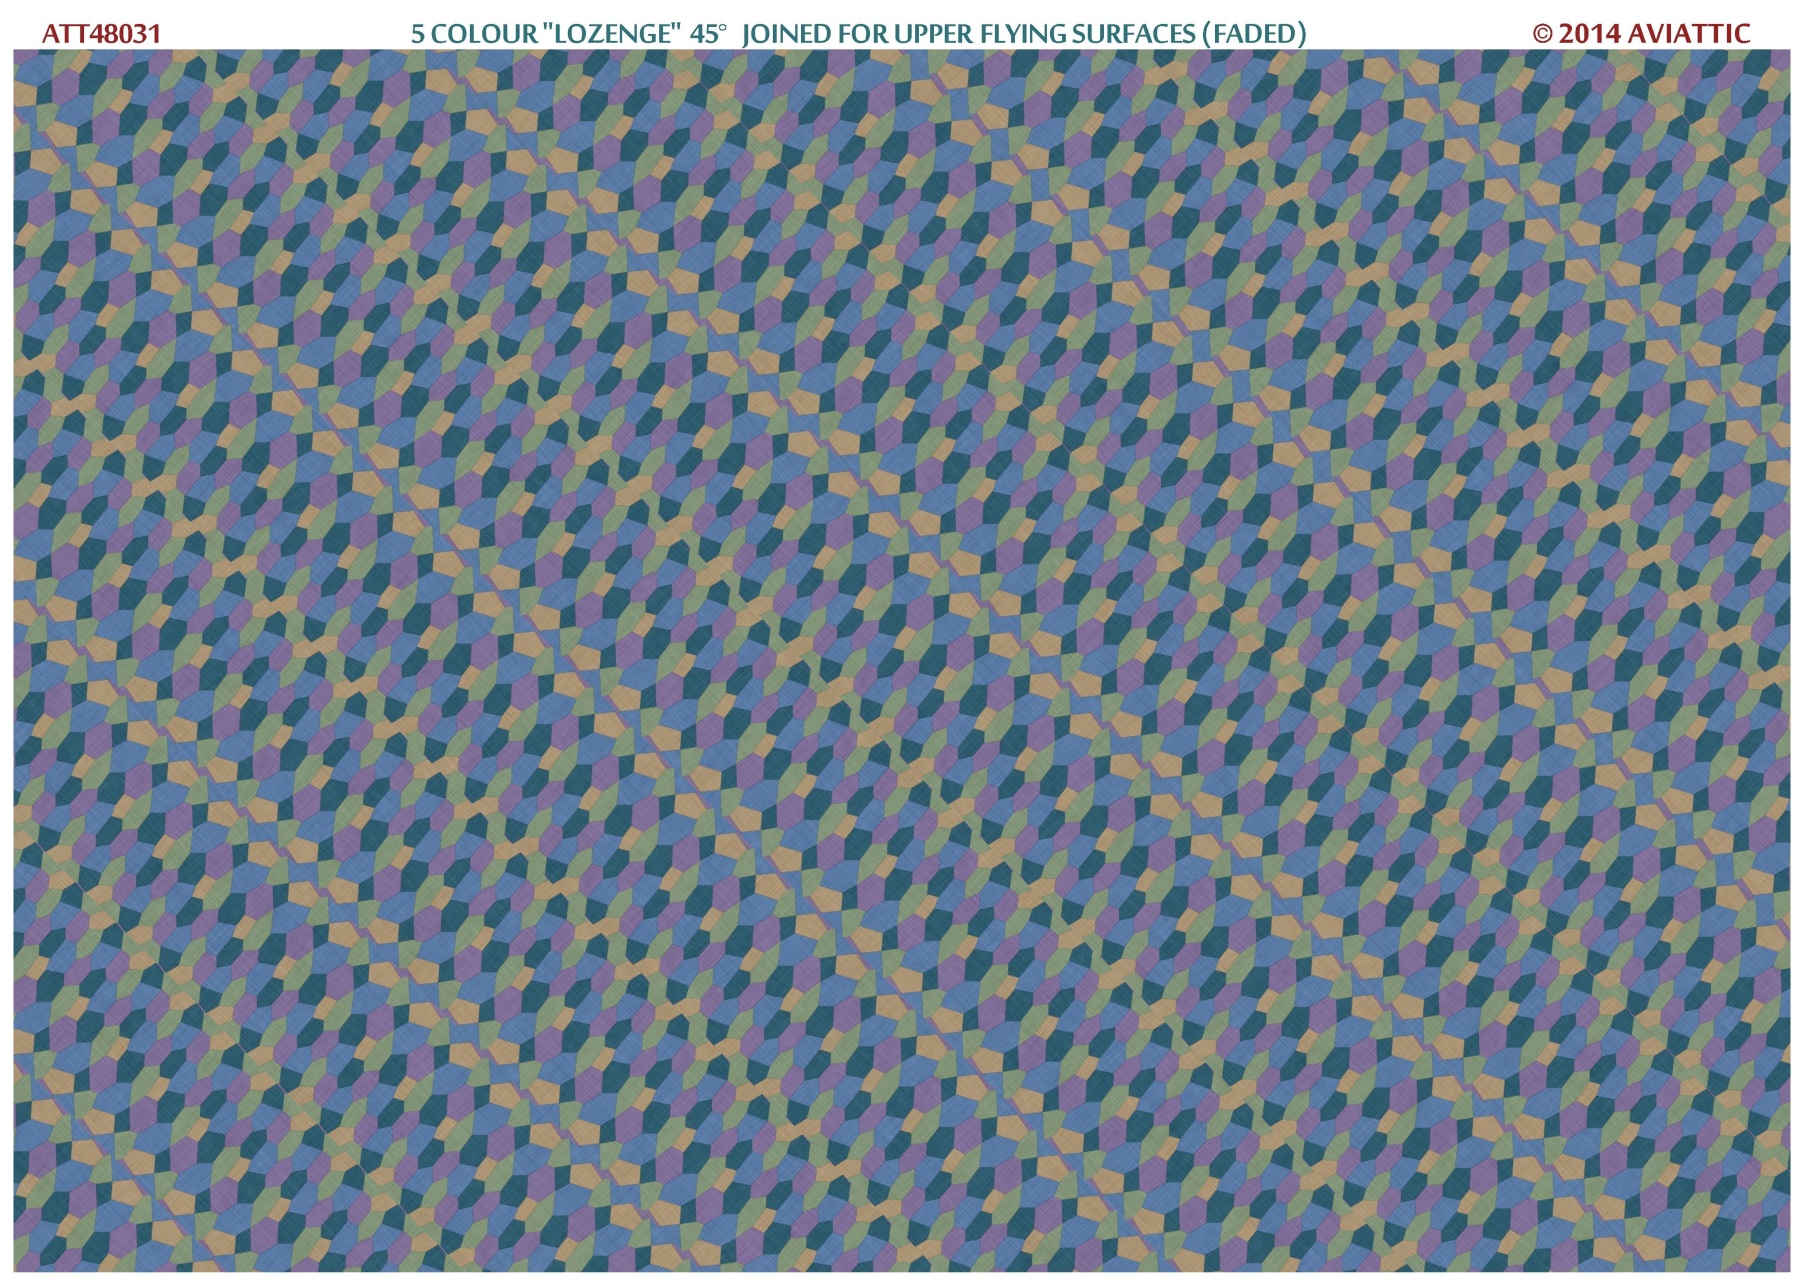
ATT48031 5 colour “lozenge” 45 degrees joined for upper flying surfaces (faded)
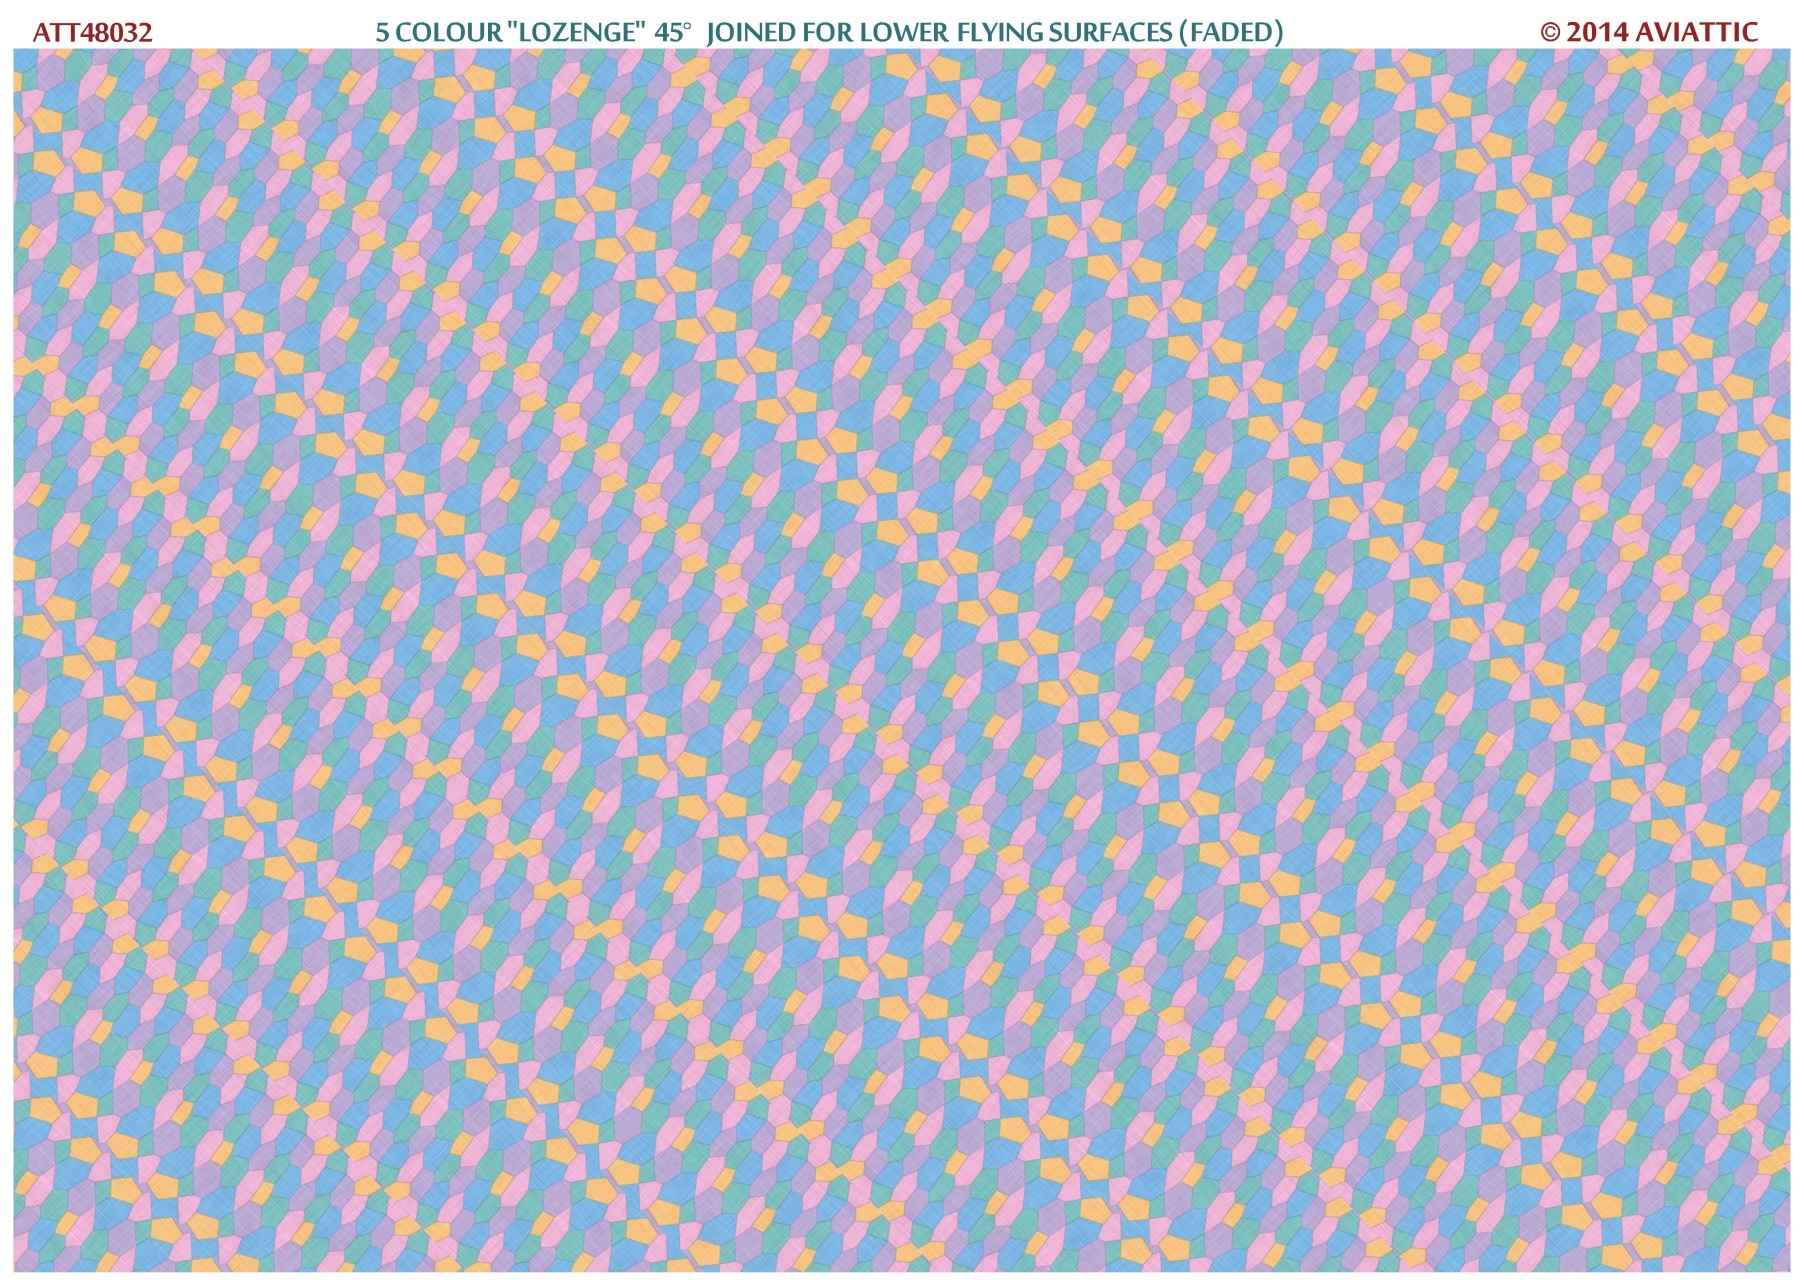
ATT48032 5 colour “lozenge” 45 degrees joined for lower flying surfaces (faded)
"Night lozenge" (overpainted blue dope)
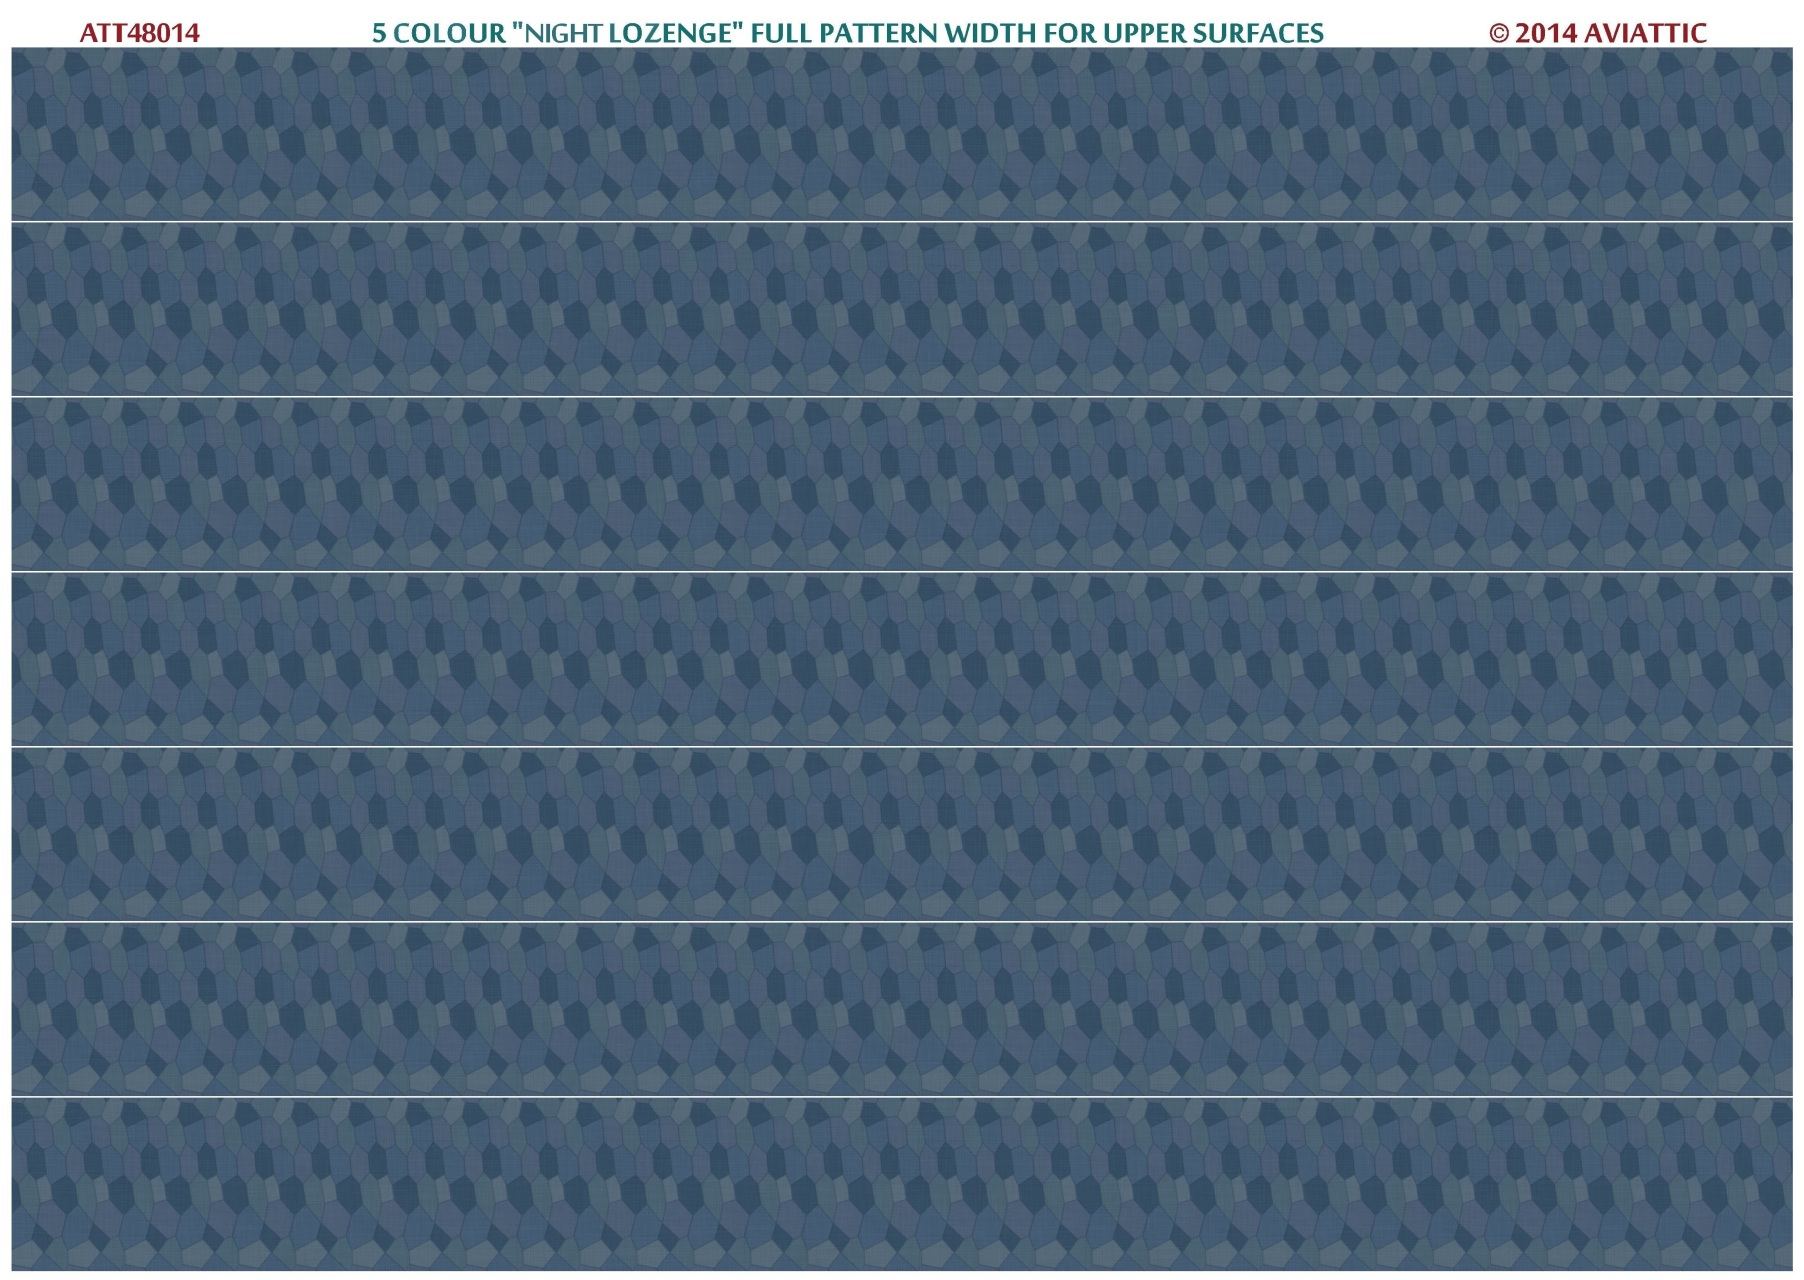
ATT48014 5 colour “night lozenge” full pattern width for upper surfaces
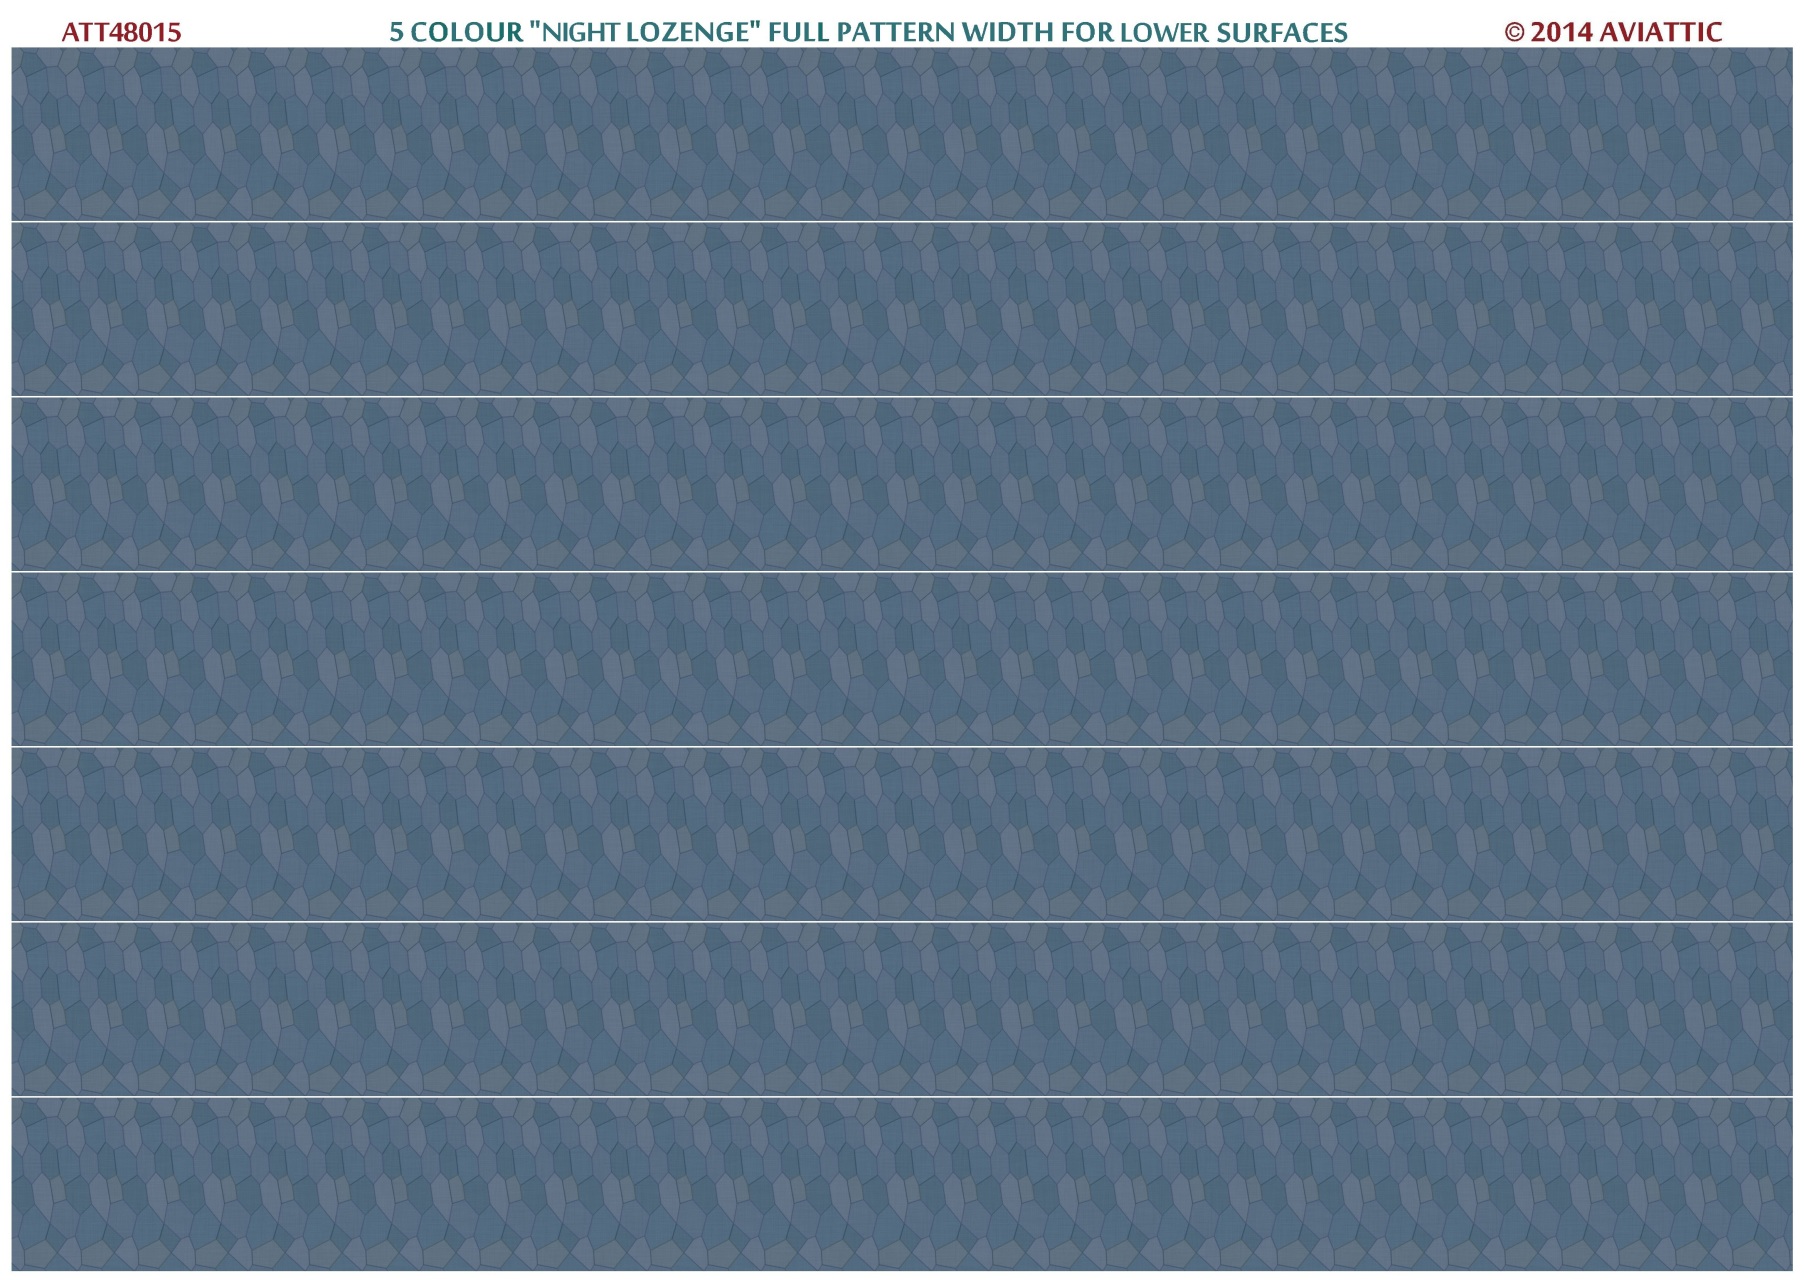
ATT48015 5 colour “night lozenge” full pattern width for lower surfaces
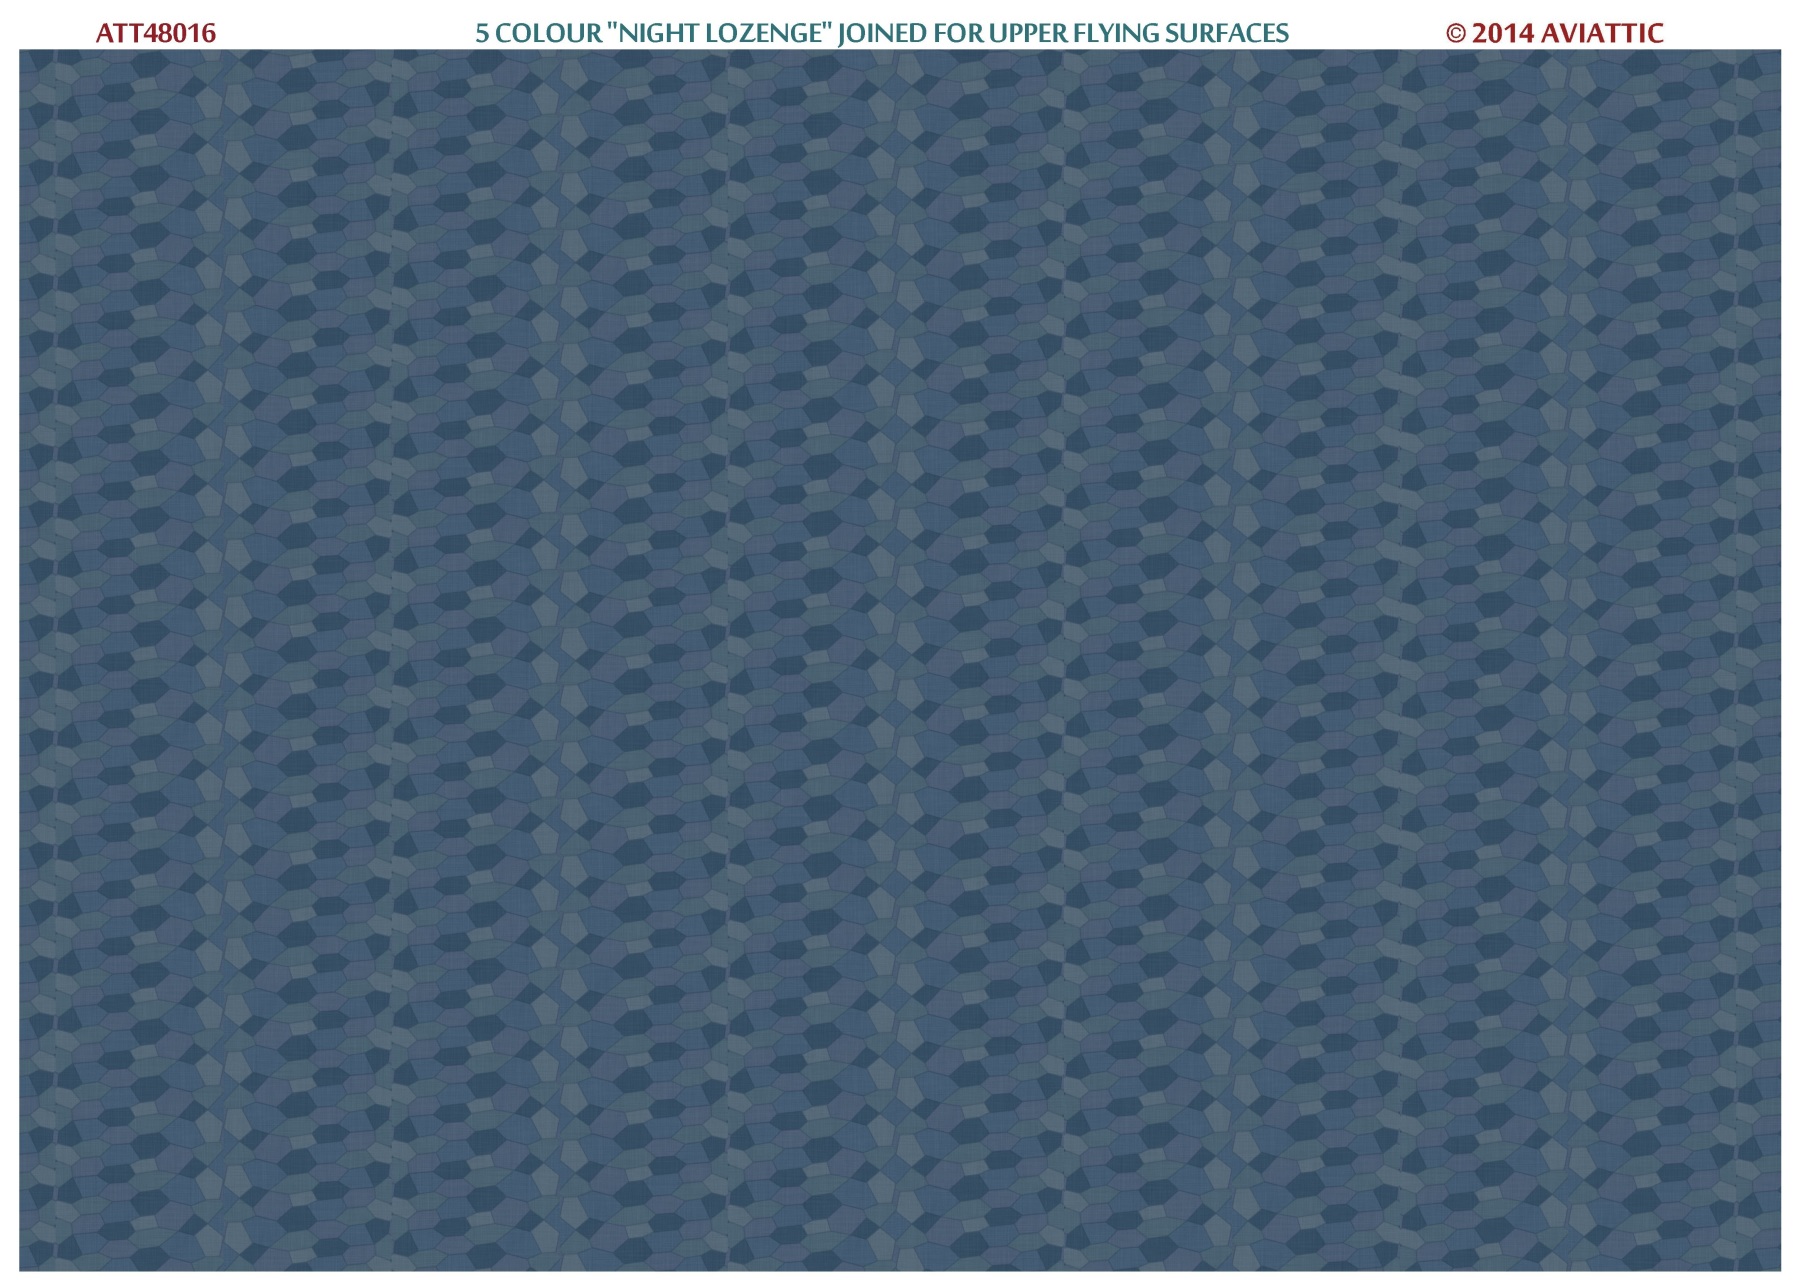
ATT48016 5 colour “night lozenge” joined for upper flying surfaces
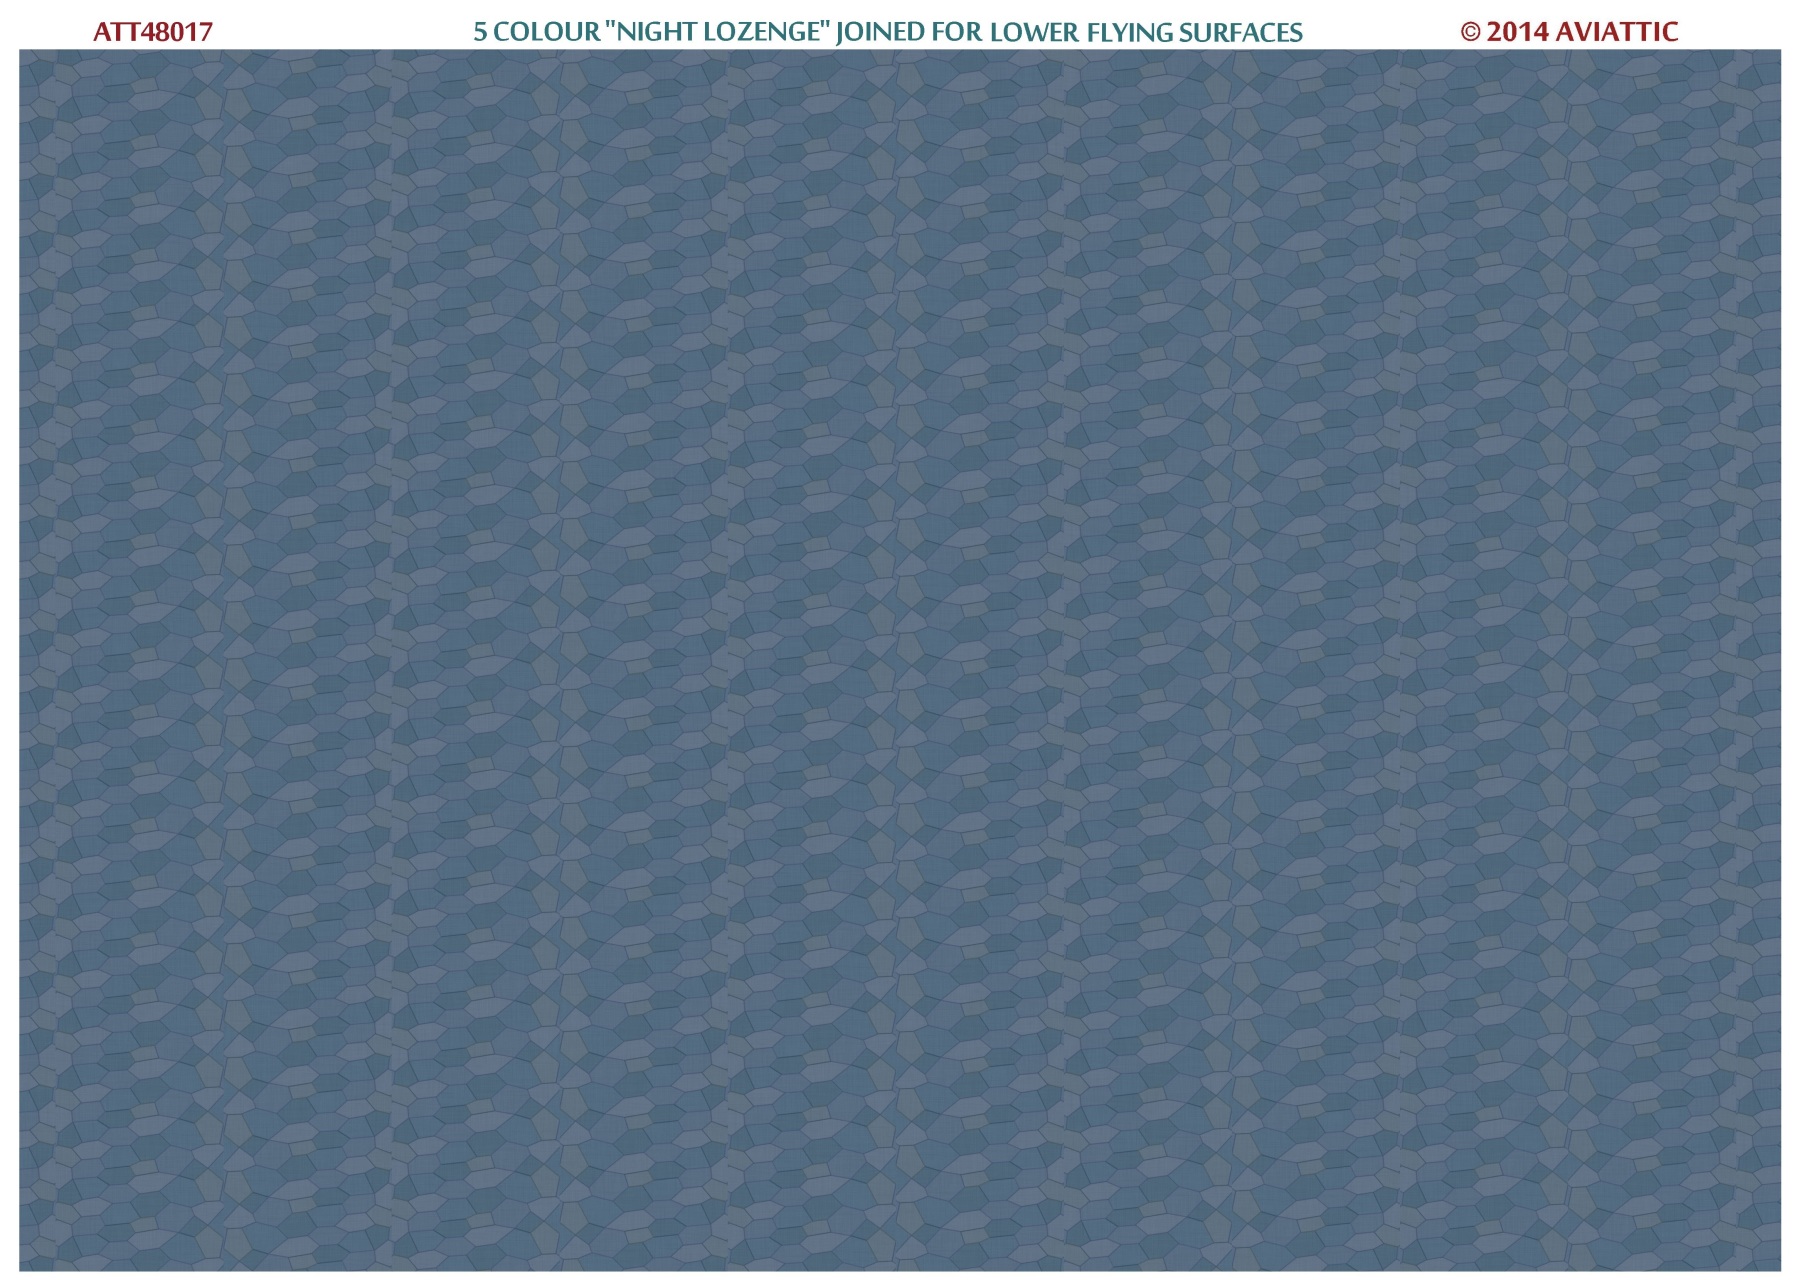
ATT48017 5 colour “night lozenge” joined for lower flying surfaces
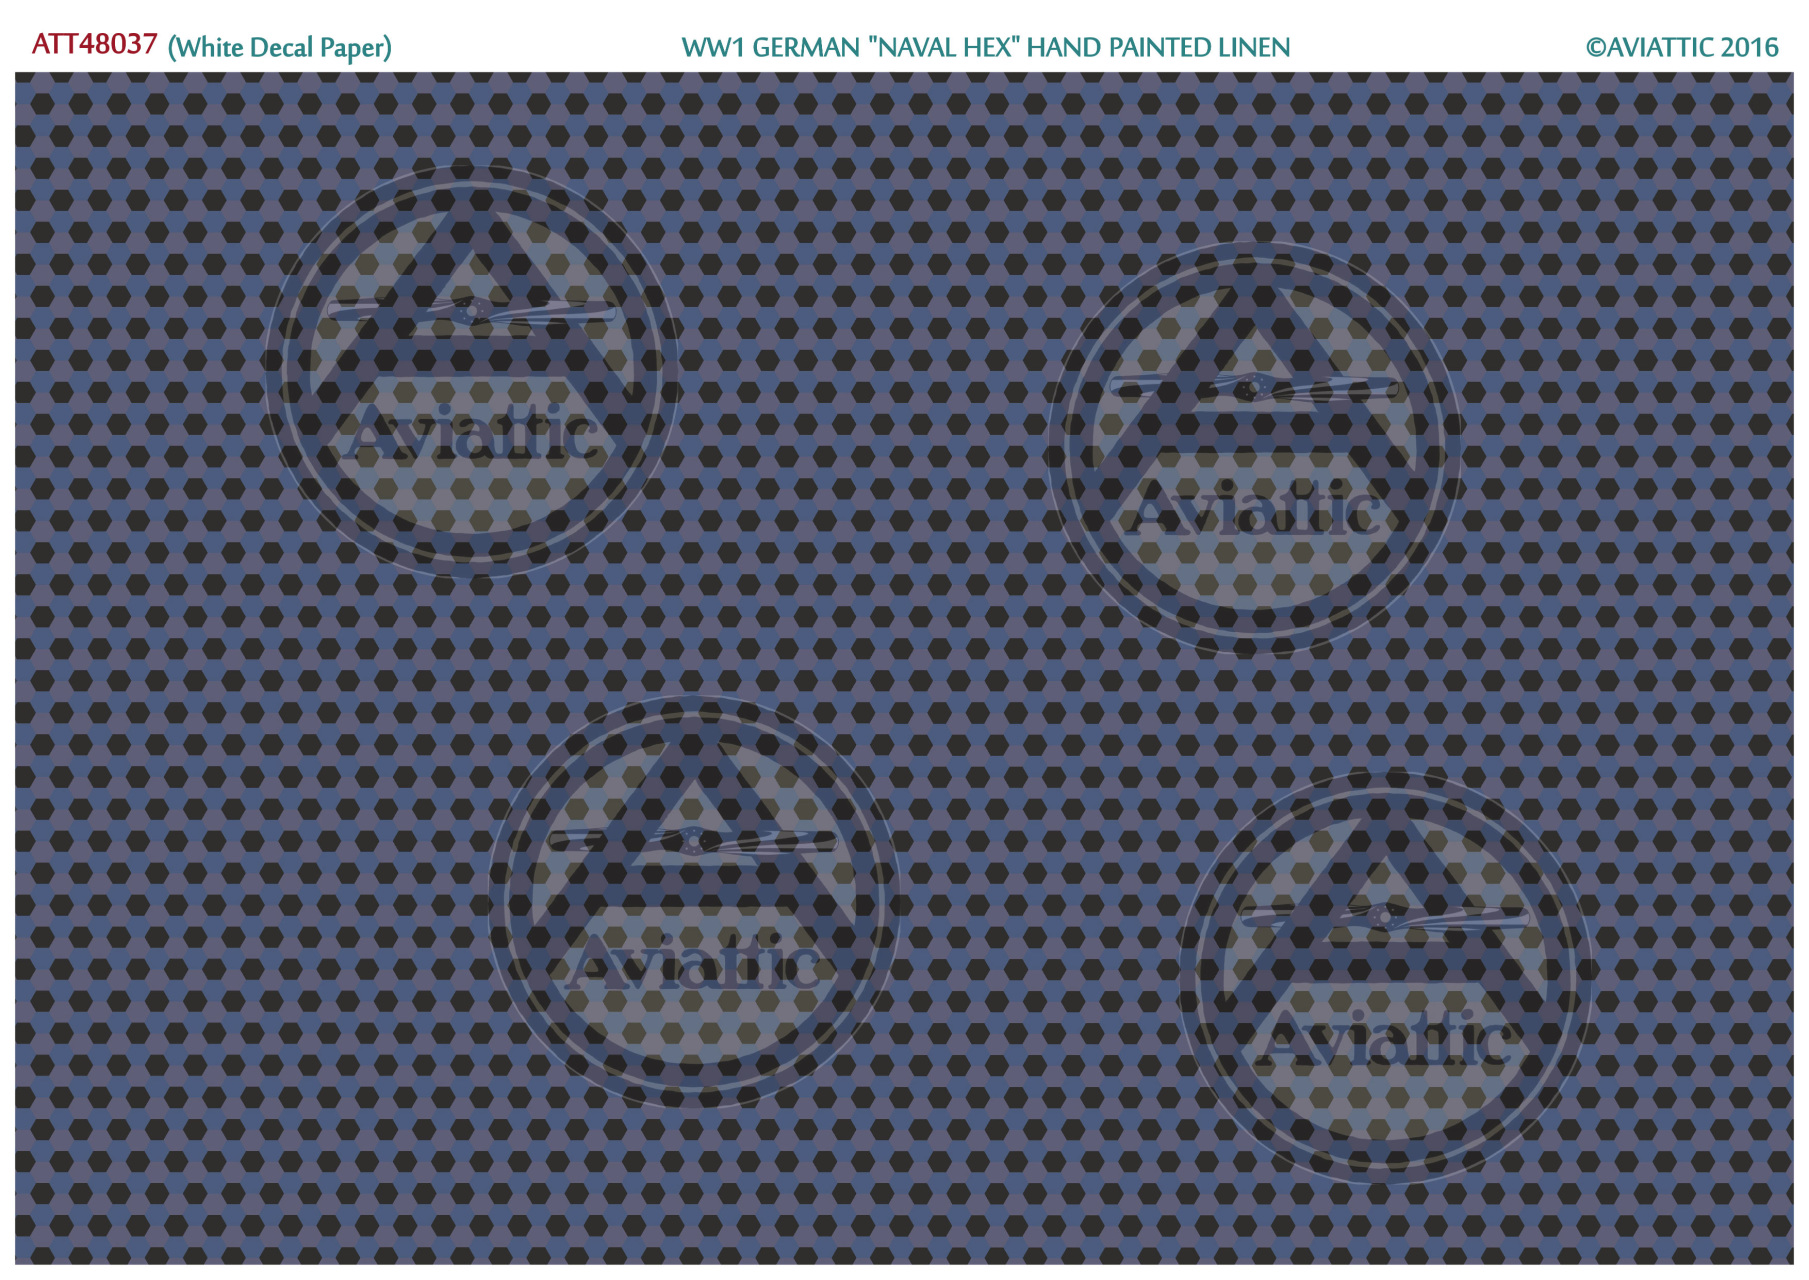
Naval Hexagon painted and printed camouflage
"..grey brown, grey blue, grey violet.."
That was the original official WW1 directive and we've followed it!
Confirmed by Ray Rimell to be a perfect match for a perfectly preserved sample shared with him and photographed by the great Peter Grosz. Harry and I used our intuition and experience studying fabrics with typical dye colours and effects to judge these colours - Ray's endorsement was very gratifying.
A pleasing "English Channel" palette is the result - not a sign of pink, or "black" as WNW would suggest in their description of the Aviattic options. Internet photographic reproduction can be deceptive!
An absence of rib-tapes have been observed on many Naval German and Austro-Hungarian aircraft. Because of the effects of sea and moisture the glue that attached them (they were not stitched on) would have perished virtually straight away and they would have been lost.
Great trouble was taken, unlike with the 4 and 5 colour Tarnstoff, to match one bolt pattern against the next and this was simply stitched to the wrappings of the rib stations.
Available in painted (early machines were hand painted onto linen) or printed linen effect. "Faded" now offered for well weathered machines!
"Clear" (translucent) decal paper for pre-shading or choose "white" (solid) backed for post-shading effects.
Photos suggest that printed linen was doped onto ply covered areas such as the turtle-deck and horizontal stabiliser. This would account for the change of tone of the hexagons on these areas in some photos (that WNW have depicted as a totally fanciful alternative colour way). Use gloss cream or pale grey/cream, as opposed to white for flying surfaces, on these areas underneath your Aviattic decals to simulate this effect perfectly!
Choose from the Aviattic linen range for the undersurface covering!
No naval examples of varnished linen have yet been studied so, taking the sea-going conditions and weathering of the airframe into account, take your pick and experiment with different techniques. Rib-tapes are in evidence in some photos of up-turned aircraft - these should be replicated using the "white decal" options, which are not translucent.
Printing colours can vary slightly between printing batches. "Clear decal" and "white decal" prints are deliberately different in appearance for fractional contrast.

ATT48034 WW1 German "Naval Hex" Printed Linen

ATT48035 WW1 German "Naval Hex" Hand Painted Linen
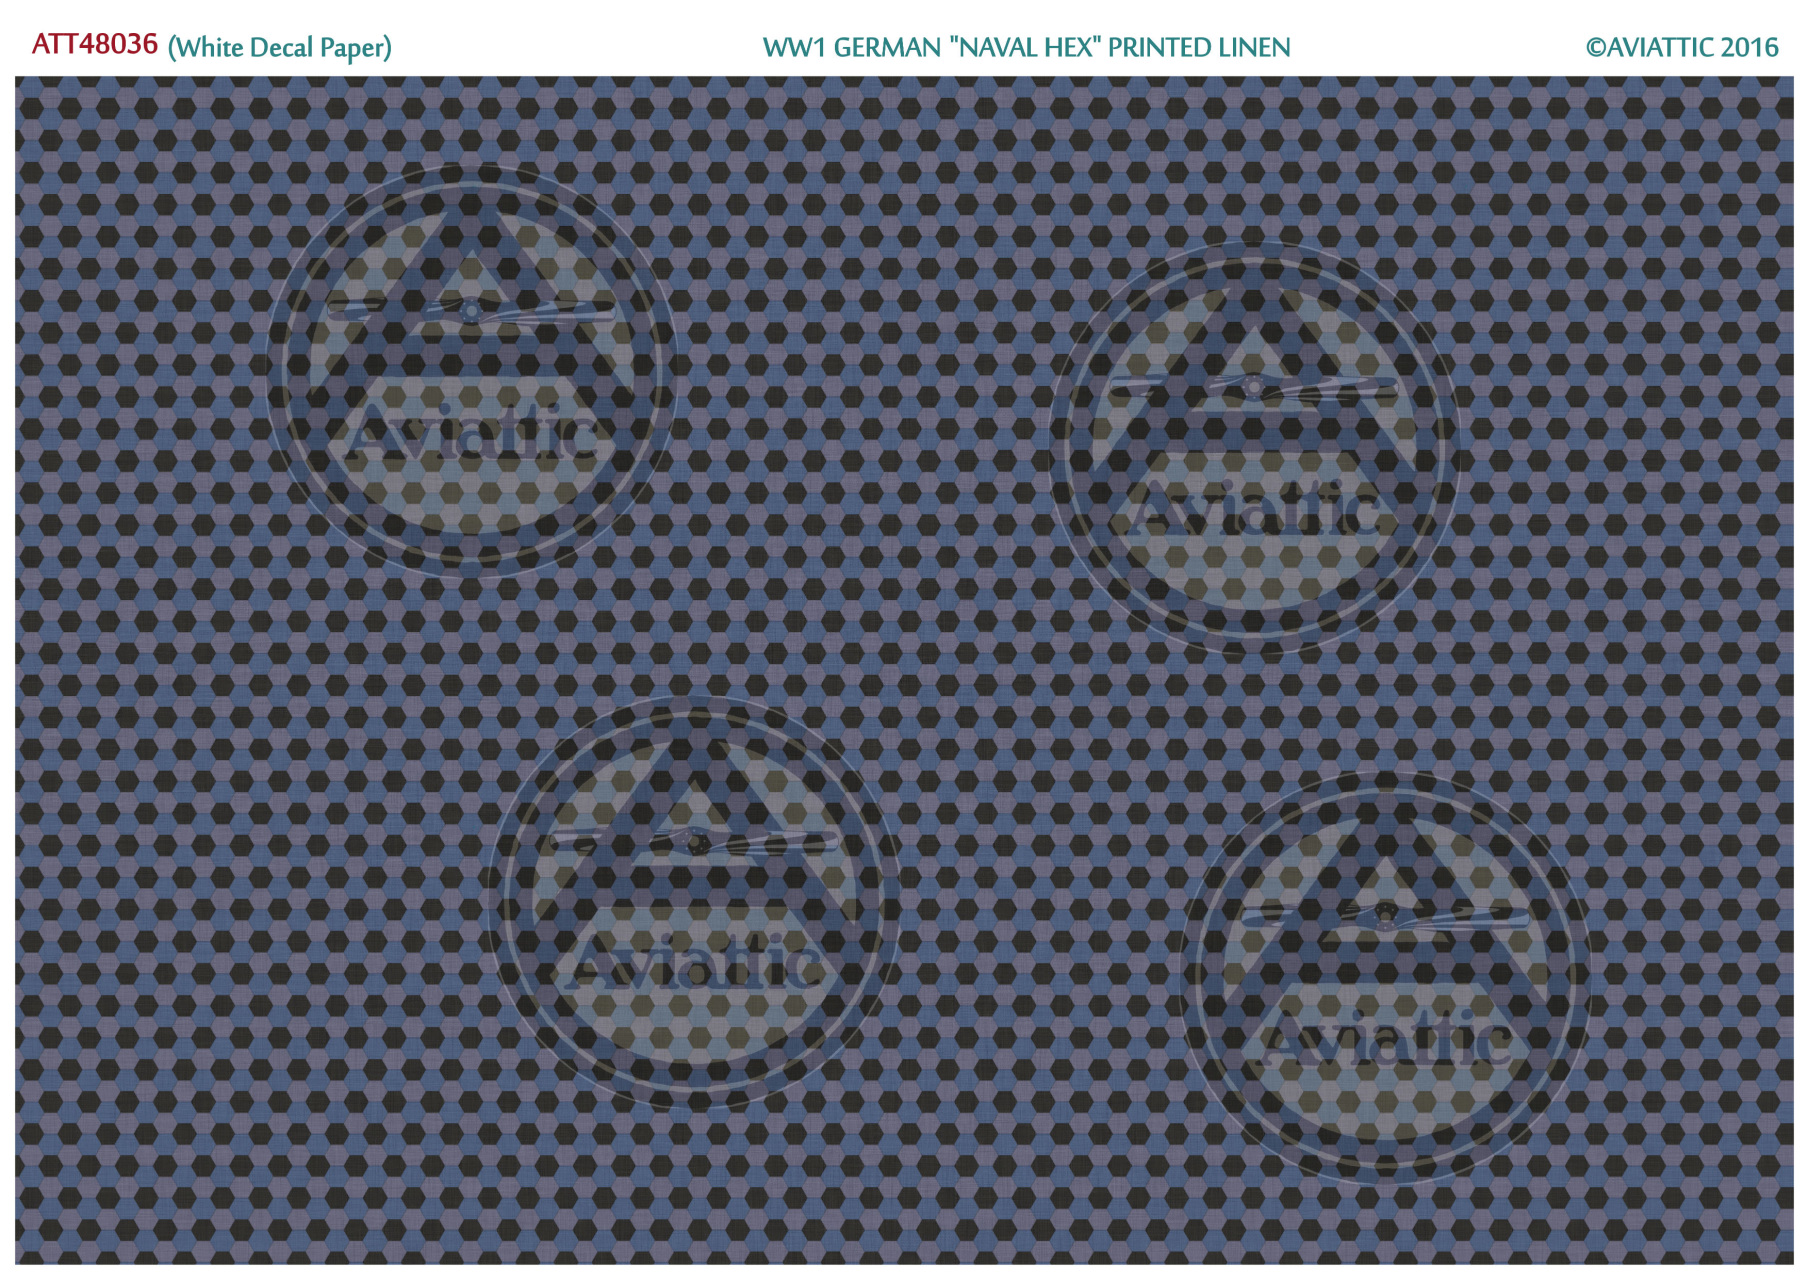
ATT48036 (White Decal Paper) WW1 German "Naval Hex" Printed Linen